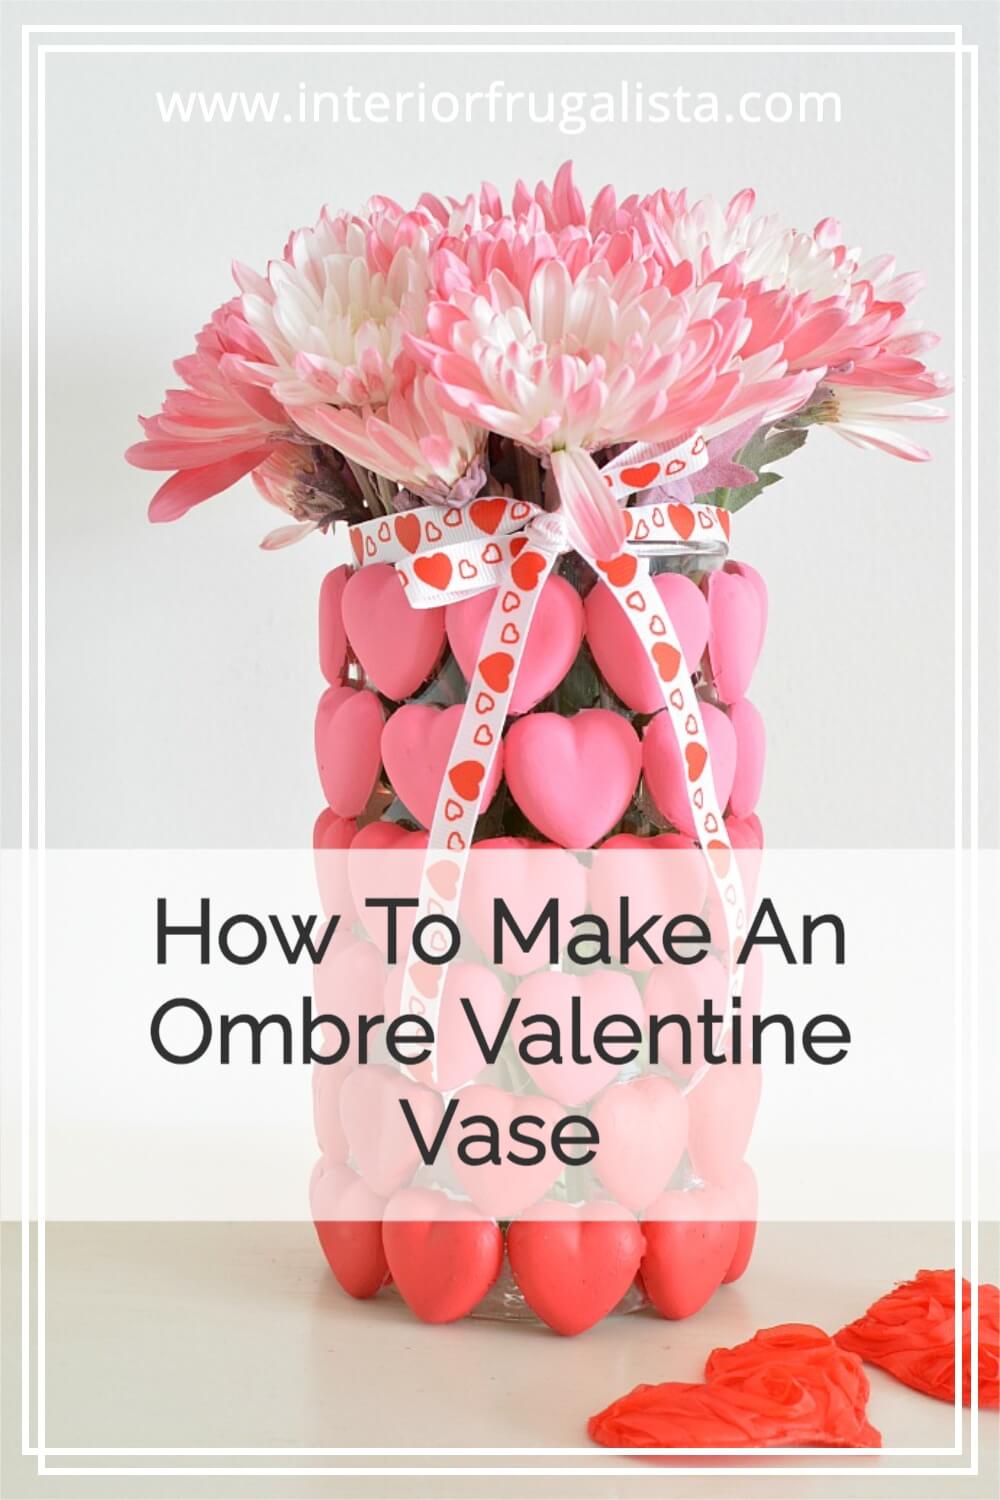
How To Make An Ombre Valentine's Vase With Mod Melts
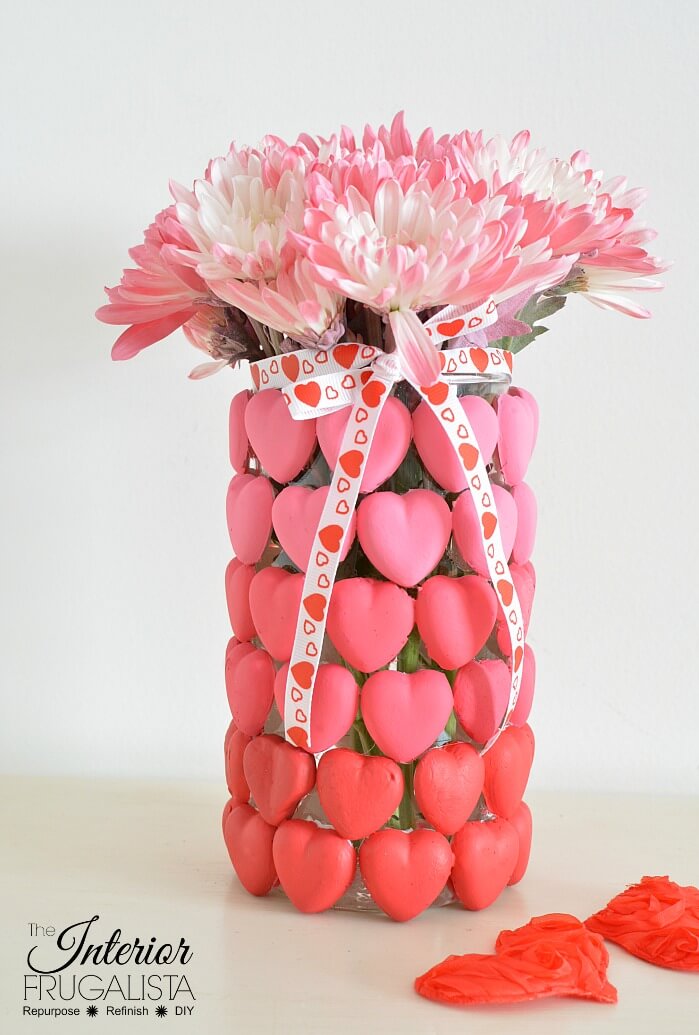
Need a vase for those pretty roses you're going to get for Valentine's Day? 😉 Here is a unique one-of-a-kind DIY Valentine's vase idea with pretty pink ombre hearts. It's an inexpensive Valentine's craft idea with a dollar store glass vase and fun to make Mod Melt hearts.
It can be used as a flower vase, candy vase, or candle holder for Valentine's Day. But it is also a great idea for wedding centerpieces, a bridal shower, or a Mother's Day gift and I'll show you how easy it is to make.
DIY Valentine's Heart Vase
While I made mine a gradient pink, the possibilities are endless for what colors you paint the Mod Melt hearts or even what Mod Melt shapes you choose for your vase.
The inspiration for my heart vase started with a trio of large wooden vases I had in my stash. Only one still had the glass cylinder inserts so I used it to make this pretty ombre heart vase and turned the wooden vases into a DIY Geometric Lamp.
This post contains affiliate links so you can see what products I used or recommend for this project. As an Amazon Associate, I earn a small commission from qualifying purchases at no extra cost to you.
What You'll Need To Make The Valentine's Vase
Have you heard of Mod Podge mod melts? Instead of clear hot glue sticks, they are white and you use them in a high-temperature hot glue gun or Mod Podge Mod Melter. It is recommended you use silicone molds but I had plastic heart-shaped candy molds from my former chocolate-making days and they worked just fine.
Pro-Tip
I recommend you designate a craft glue gun specifically for Mod Melts because that milky glue will take forever to clear out of your glue gun.
Pictured below are the supplies I used to make the DIY Valentine Flower Vase.
Before we get into the nitty-gritty of how to make the DIY Valentine Vase, almost all of the DIY projects shared here at Interior Frugalista have step-by-step tutorials so why not get your budget DIY on and subscribe. You can also follow us on Pinterest, Facebook, Instagram, and YouTube.
How To Make An Ombre Heart Vase For Valentine's Day
Squeeze the mod melts into the center of the molds and work your way outwards until filled. Gently tap the mold up and down to remove any air bubbles. Wait approximately ten minutes for the Mod Melts to cool before removing the hearts from the molds.
Normally when using plastic molds you would grease them first to prevent the Mod Melts from sticking but I have a grease-free alternative that worked like a charm.
Helpful TIP
If you put the molds in the freezer for five minutes, the hearts will pop out like grandma’s teeth when she sneezes! This same trick works for removing candle wax from votive candle holders too.
It took 60 hearts to cover a 7-inch tall by 3-inch diameter glass vase. You will need to determine how many hearts you will need for the glass cylinder you use. The hearts are easy to make and won't take long to have them all finished.
How To Paint Gradient Ombre Hearts On Valentine Vase
These are the instructions for painting the Valentine flower vase hearts in three ombre gradient pink colors.
- You'll need to determine how many hearts you need per row. For my 3-inch diameter glass cylinder, I needed ten hearts per row.
- Unlike pictured below, paint the hearts first before gluing them onto the glass cylinder.
- Base the gradient color changes to begin after every second or third row, depending on the size of your vase. My vase required 20 hearts per color.
How To Mix The Gradient Pink Paint Colors
- Pour red acrylic craft paint (or if you prefer a glossy finish use a gloss multi-surface paint into three small yogurt containers.
- In one yogurt container add 2 teaspoons of white craft paint to make a medium pink color.
- In the third yogurt container, mix 4 teaspoons of white craft paint to make a light pink color.
- Paint 20 heart shapes per color and you will probably need three coats of paint.
How To Attach Painted Ombre Hearts To DIY Valentine Vase
Initially, I attached the hearts with E6000 glue but after the first row, I switched to a hot glue gun because it was so much quicker.
- Starting at the bottom of the vase, glue a row of the darkest pink hearts.
- On the second row, glue the point of the hearts in between two hearts on the previous row.
- With the medium pink painted hearts, repeat this pattern for the next two rows.
- With the light pink painted hearts glue the remaining two rows.
Tie a seasonal ribbon around the top of the vase and we're ready to add a candle, candies, or a pretty bouquet of flowers!
If you plan on using the heart vase as a candle holder, a great option is a set-and-forget red flameless wax candle on a timer.
Here's another easy DIY Valentine craft idea that you may like to hang on the wall above the heart vase. This DIY Valentine Rag Wreath is easy to make with red burlap ribbon.
Thanks for stopping by the Interior Frugalista today! I hope you were inspired by this DIY Ombre Heart Vase. If you have any questions, please leave them in the comment section below or click the Contact Me tab at the top of the blog to drop me an email. I love hearing from you!
If you enjoyed this Valentine's Day Flower Vase idea, I'd be so thankful if you shared it with a friend and pinned it to your DIY Valentine Decor or DIY Wedding Ideas board on Pinterest.

I share my projects at these inspiring link parties.


Neat! I wouldn't have thought of using the mod melts and a chocolate mold this way. Very cool!
ReplyDeleteGlad you like it Cara, it was a fun project! If you plan on using mod melts with chocolate molds, remember after they are cooled, put them in the freezer for 5 minutes to easily remove them. Otherwise my suggestion would be to use silicone molds.
DeleteSo very cute and just in time for Valentine's Day. Thanks for sharing.
ReplyDeleteThank you both for stopping by and the party. Happy Valentine's Day to you!
DeleteThat is awesome! At first glance, I thought wow! What are those hearts? Then I read "mod melt", and I said what? But I love how everything is laid out in this tutorial, and I think that it is pretty awesome. Going to have to get me some of those things!
ReplyDeleteAlexandra
EyeLoveKnots.com
Love it Alexandra, you made me laugh! Mod Melts are so fun to make. There are so many molds to use with these and so many possibilities for crafts. Have fun should you decide to make some and thanks for stopping by for a visit. 😊
DeleteThank you very much for the feature, Marilyn! See you at the party 🤗
ReplyDeleteWell done. Just in time for Valentine's Day... We are definitely sharing this.
ReplyDeleteThank you so much, I'm glad you like it and appreciate the share 😊
DeleteOkay, I learned about a new craft supply today - mod melts! Your vase embellished with mod melts! is very unique and turned out so festive for Valentine's Day. Pinning to my Valentine's Crafts board. I'm visiting from Artsy Fartsy. If you're interested, I shared a Winter craft #46. Mod Melts! :)
ReplyDeleteI'm glad you like my Valentine's Day vase and so glad I introduced you to Mod Melts! Thanks for stopping by and appreciate the pin 😊
DeleteLove this!
ReplyDeleteThanks Virginia and Happy New Year!
DeleteSo cute. I hadn't heard of mod melts. But I will be getting some now. Thanks for sharing.
ReplyDeleteI promise you will have a lot of fun making these and the crafting potential for them is endless.
DeleteLove this Marie! I hadn't heard of mod melts either so thank you! I have no decorations at all for Valentines Day so I appreciate your timing. Pinned!
ReplyDeleteThanks Denise, so glad I piqued your curiosity about Mod Melts. I found them at Michaels but I'm sure Hobby Lobby probably has them too. They are a lot of fun to make.
DeleteThis is a fun project. I need to find some of those mod podge melts. I will keep them in mind I bet they would be good for furniture repairs even. I laughed when I read Grama losing her teeth, brat lol.
ReplyDeleteMichaels sells the mod melt sticks and of course the silicone molds. So much crafting potential with these and yes, they could be used to make appliques for furniture and home decor too. Glad I made you laugh, Leanna, you know me, always a smart @$$.
DeleteMarie,
ReplyDeleteOMG, I love this Valentine vase. So adorable. Congratulations, you are being featured at Thursday Favorite Things. I hope you stop by. https://www.eclecticredbarn.com/2021/01/thursday-favorite-things_21.html
Hugs,
Bev
I'm glad you like the vase, Bev, and I'm thrilled to see it's being featured this week. Thank you! xo
DeleteSo so cute and clever, love it!!
ReplyDeleteJenna
Thank you very much, Jenna!
DeleteThank you so much for sharing to our linky party!
ReplyDeleteYou're welcome, thanks for hosting!
Delete