9 Budget-Friendly DIY Ideas To Spruce Up Your Deck
We did it! One DIY project at a time we have spent the last two months creating a cozy and inviting conversation area on our backyard deck. But first, it required an unexpected deck restoration. Today I'm sharing nine budget-friendly DIY ideas to spruce up your deck without spending a lot of money.
9 Economical Ideas For A Deck Makeover
I hope you find some inspiration in these nine budget-friendly DIY deck ideas. First, I'll share each individual deck project with links to those ideas. Then I'll share the pretty after makeover shots with nighttime views towards the end of the post.
1) Budget-Friendly Deck Restore when replacement isn't an option
The plan was to power wash and restain our deck until discovering some rotting deck boards. That opened up a whole can of worms! A deck replacement was not in the budget and so we came up with a budget-friendly way to restore our deck for around $400.
2) How To Paint An Outdoor Area Rug With Stain
After the deck was restored I wanted to create a conversation area with an outdoor rug. Instead of a fabric rug, I handpainted an area rug with stain and it was so easy!
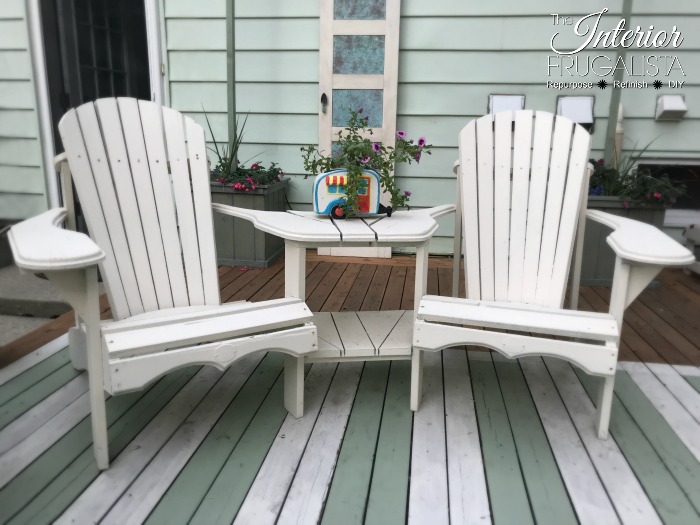
3) How To Stain Adirondack Furniture The Easy Way
Another project on the list was refreshing our Adirondack furniture. We saved a ton of time and our knees by staining the furniture an easy way. We had all four pieces finished in an afternoon and I share tips on how we did it.
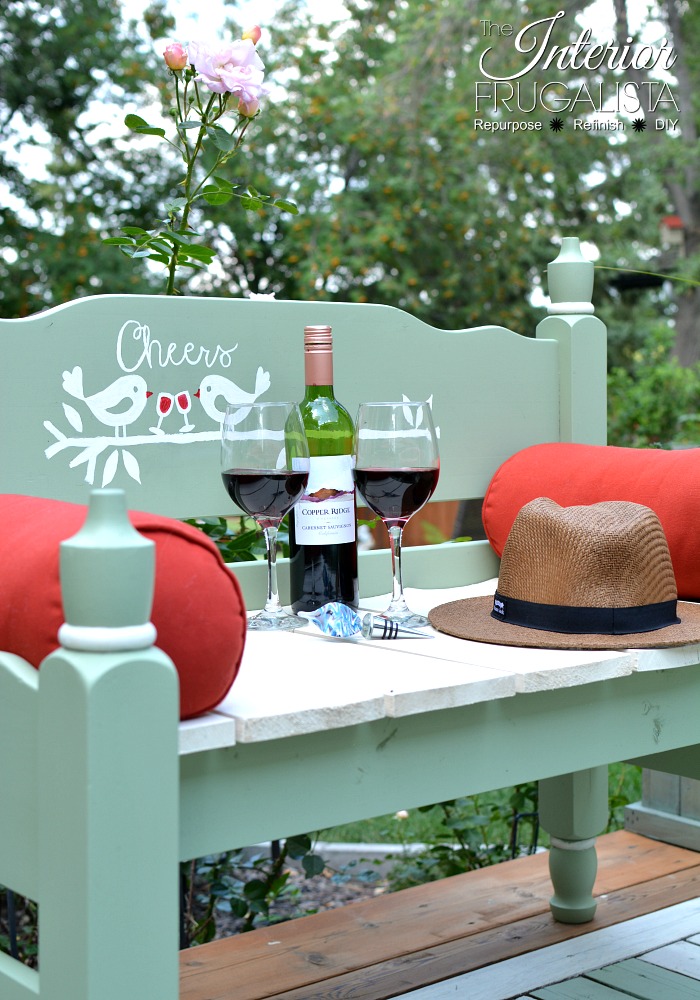
4) How To Build A Twin Headboard Garden Bench
On our wish list was a garden bench to provide extra seating on our deck. We saved a lot of money by turning an old twin headboard set into a whimsical garden bench for two and I share a detailed tutorial on how to build one.
5) From Drab To Fab Outdoor Chair Cushions
I soon learned purchasing Adirondack chair cushions would cost at least $50 per chair. So I found a budget-friendly alternative at Walmart. Then I added some whimsical charm to those inexpensive cushions with a stencil and took them from drab to fab and it was so easy.
6) Deck Privacy Screen From Repurposed Louvered Doors
If building a pergola isn't an option, here's a budget-friendly alternative for a deck privacy screen made with old louvered doors. The water wall in the center is optional but I do share a link on how to build that too.
7) DIY Wooden Birdhouse Sign
I had no intention of creating a bird theme on the deck. It started with this DIY wooden birdhouse sign made with scrap wood and thrift store finds. It looks so cute on our privacy wall that I continued the bird theme throughout our deck makeover.
8) How To Turn Metal Sconces Into Solar Lights
I wanted candle sconces to flank the water wall feature of our privacy screen. Wax candles or flameless candles wouldn't withstand the elements. Instead, I turned metal candle sconces into solar lights and I share a tutorial on how easy it is to do.
9) DIY Whimsical Metal Garden Art Animals
Last but not least is the bronze metal garden animals I've had for over twenty years and looking worse for wear. I gave them a fun whimsical makeover in bright colors inspired by a vintage camper flower pot that I painted for our deck.
Budget-Friendly Deck Makeover
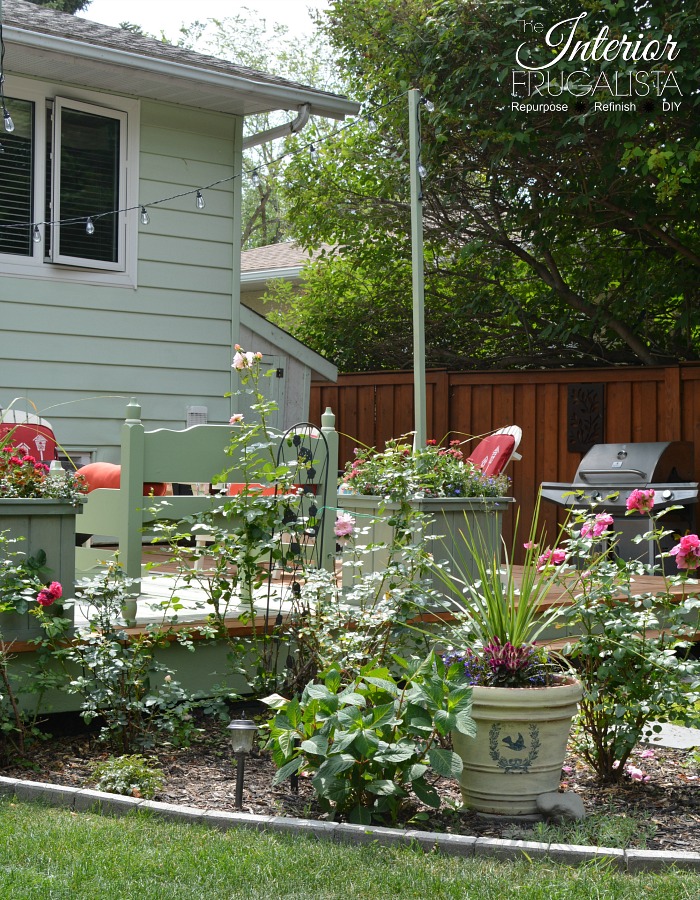
As promised, here are some photos of our budget-friendly deck makeover both during the day and at night illuminated with solar and string lights.
The Le Jardin Flower Planter is also a DIY project from a repurposed 5-panel wooden door. The Portable Outdoor Beverage Cart in the background is a repurposed shelving unit and the Coastal Serving Tray below is made from a picture frame.
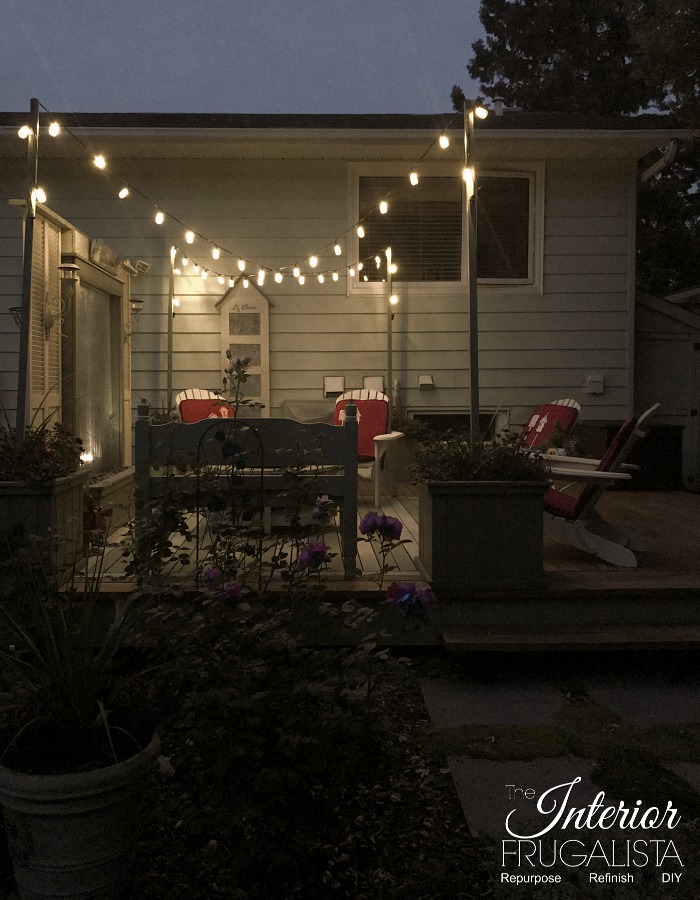
Here are some photos of the deck illuminated by string lights at night.
Thanks for stopping by the Interior Frugalista today! I hope you were inspired by these ideas for sprucing up a backyard deck on a budget.
Almost all of our DIY ideas have step-by-step tutorials so why not get your budget DIY on and subscribe. You can also find us on Pinterest, Facebook, Instagram, and YouTube.
If you have any questions, please leave them in the comment section below or the Contact Me tab at the top to drop me an email. I love hearing from you!
If you enjoyed these economical ideas for a deck makeover, I'd be so thankful if you shared it with a friend and pinned it to your backyard deck ideas or DIY outdoor living ideas board on Pinterest.
I share my projects at these inspiring link parties.


Marie,
ReplyDeleteThis is so amazingly charming! Love the colors of red and green!! and your privacy wall is just spectacular especially in the evening!! Beautiful!! Thanks for sharing!! Stay safe, healthy and happy!!
Hugs,
Deb
Hi Debbie and thank you so much! We do enjoy our privacy water wall all summer, especially the relaxing sound of the trickling water. Enjoy the rest of your summer and hugs backatcha! xo
DeleteYour deck and outdoor space looks fantastic! You definitely put a lot of work in to it. Enjoy it for a long time. #HomeMattersParty
ReplyDeleteThanks Donna, we sure did it! We pretty much live out there in the summer so it was so worth our efforts.
Delete