Mid Century Modern Cedar Chest Makeover
Did you know you can seal painted and stained furniture with hemp oil? Instead of my usual clear wax finish, I tried it on a mid-century modern cedar chest makeover with a paint and stain combination. The result is a gorgeous matte finish that enhances the color and is very easy to apply.
...when you do it right, which I didn't.
So in full disclosure, I'm sharing my critical mistake plus how to properly apply a hemp oil topcoat to painted, stained, or bare wood furniture.
The same technique applies to protecting butcher block counters and wood cutting boards too. Because hemp oil is food-safe and beautifully revives and conditions bare wood.
Before And After Cedar Chest Makeover
The cedar chest makeover went smoothly and I was thrilled with the results. But things went awry when I sealed the stained surfaces with hemp oil. More about that later.
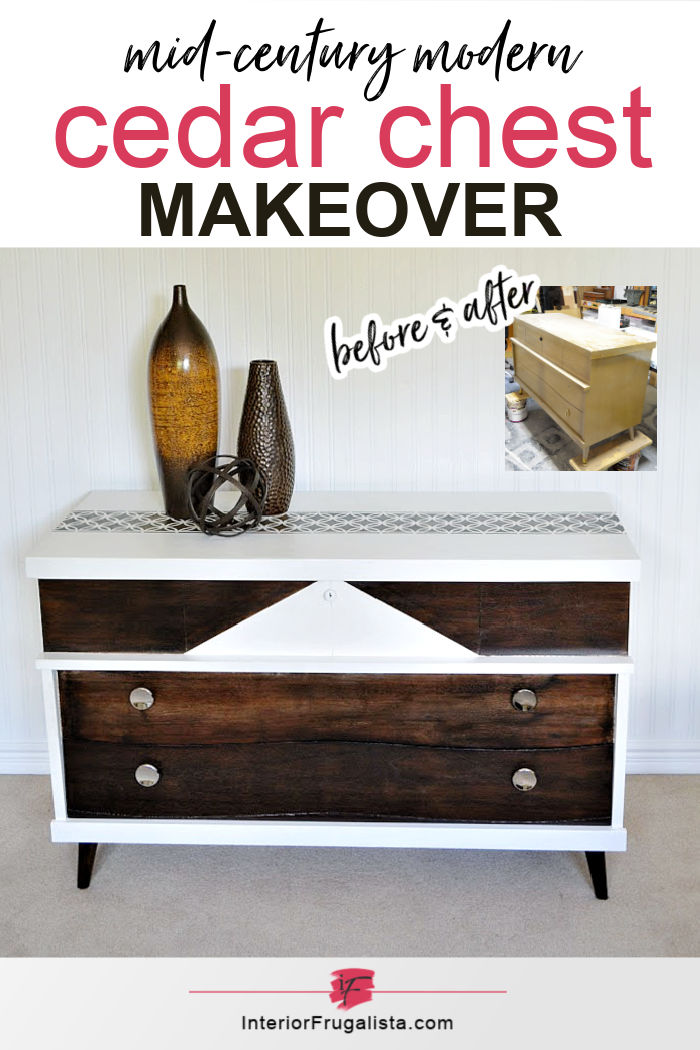
First, let's take a look at the mid-century modern cedar chest makeover before and after. It's a rarity to find cedar chests at our local thrift stores and I hit the jackpot with this mid-century tapered leg style chest.
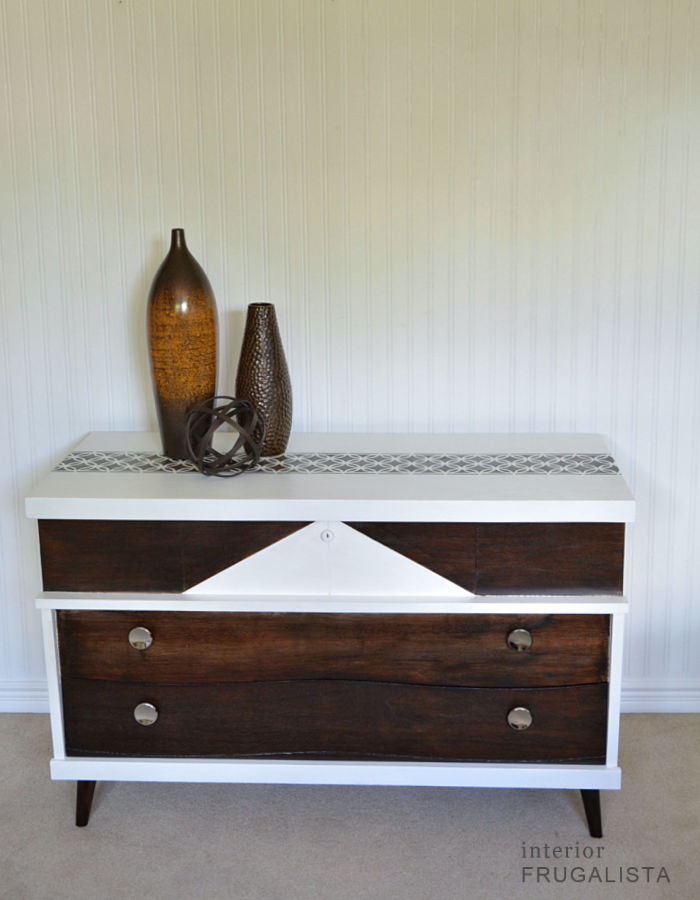
And here it is after the paint and stain makeover with a geometric triangular design.
My hemp oil choice for the protective top coat on this makeover is from the Miss Mustard Seed line.
Besides curiosity, my main motivation for trying hemp oil is the potential for an easy-to-apply topcoat alternative to clear wax for my furniture makeovers.
What You'll Need To Make It
This post contains affiliate links so you can see what products I used or recommend for this project. As an Amazon Associate, I earn a small commission from any qualifying purchases at no extra cost to you. Thank you for your support!
Supply List
Wooden Cedar Chest (thrift store)
White Chalk Paint
Special Walnut Stain
Delicate Surface Painter's Tape
Martha Stewart Arabesque Stencil
Natural Hemp Oil (alternative)
Chip Brush
Sponge Brush
Foam Stencil Pouncer
Lint-Free Rag
DIY Cedar Chest Makeover
As always, I applied my usual steps for prepping furniture for chalk paint. Once the piece was completely dry, I used painter's tape to create a triangle on the top drawer.
The top, sides, trim, and triangle are painted with two coats of Simplicity White chalk paint. Sanded between coats with 220-grit sandpaper for a nice smooth finish.
After the white paint dried overnight, I covered the outside edges of the painted triangle with Frog Delicate Surface Painter's Tape. My preference for this tape is because it's safe to use on freshly painted surfaces. I rubbed my finger's along the edges for a tight seal so the stain doesn't bleed under the tape.
With a sponge brush, I applied a coat of special walnut stain in the direction of the grain of the wood. I let it sit around 10-15 minutes before wiping the excess stain with a lint-free rag, letting it dry for about 4 hours before applying a second coat.
Once the second coat was applied I removed the painter's tape and moved on to the next step of the cedar chest makeover.
Stenciling With Stain
While the stain was drying I decided to add a stenciled arabesque runner to the top of the cedar chest. It's from the same stencil trio I used on the quatrefoil coffee table and greek key pine bedside table makeovers.
Because chalk paint is porous, instead of paint, I stenciled the top with the same special walnut stain. I knew the technique worked because I had tried it on this faux snakeskin wood tray makeover.
The trick for getting crisp edges without bleed is to blot most of the stain onto a paper towel first so the foam stencil dabber isn't wet. Then I lightly pounced the stain starting from the center of the largest stencil pattern and working towards the outer edges.
Once the MCM cedar chest makeover was finished, it was time to add the protective hemp oil topcoat.
Hemp Oil Topcoat Debacle, oh my!
Starting with the stenciled top, I brushed hemp oil on the chalk-painted surface with a chip brush and let it absorb into the paint for approximately thirty minutes. Then I came back and wiped the excess oil with a clean lint-free rag. I was thrilled with how easy it was.
I repeated the process on the front of the cedar chest much the same way. But when I came back a half hour later I discovered the makeover went to hell in a handbasket.
The lovely special walnut stain turned into an oily gooey mess that bled onto the white paint. So much for a nice crisp triangle!
Every attempt I made to dab the excess oil off made it worse, causing the stain color to be horribly uneven.
So my assumption was that hemp oil must not work on stained wood so I set out to get some answers and this is what I learned.
Can you use hemp oil on stained wood?
Yes, you can use hemp oil as a topcoat on stained wood but it is critical that you allow an oil-based stain to dry at least 3-4 days until it is no longer tacky before applying a hemp oil topcoat. The reason is that hemp oil absorbs into the wood and the excess oil rises to the surface.
This explains why the stain on my cedar chest turned into a gooey hot mess because I had only waited 24 hours!
Can you use hemp oil on painted wood?
Hemp oil provides a beautiful matte topcoat for porous milk and chalk-painted furniture, along with water-based stains. It is recommended you wait at least 24-48 hours before applying the hemp oil topcoat as it absorbs into the paint.
How To Seal Painted And Stained Furniture With Hemp Oil
- Wait 3-4 days for an oil-based stain to completely dry before applying a hemp oil topcoat.
- Wait 24-48 hours for milk paint, chalk paint, or water-based stain to completely dry before applying a hemp oil topcoat.
- Apply the hemp oil with a brush.
- Allow the oil to absorb into the wood for approximately 30 minutes.
- Remove the excess oil with a lint-free rag.
- Small amounts of excess oil may continue to rise to the surface over the next few hours or days. Simply wipe it with a lint-free rag.
- Hemp oil has a 24-48 hour dry time.
You'll find once the hemp oil topcoat is dry that it provides a beautiful matte finish and adds depth to the colors.
Hemp oil also revives and conditions old wood furniture and it did wonders to restore the color of my antique radio cabinet. But as I mentioned earlier, it is also food safe and perfect for reviving or conditioning bare wood like I did to the butcher block top on the IKEA Bekvam rolling cart makeover.
How I Repaired The Cedar Chest Makeover Topcoat Debacle
Sadly I had to sand the entire front of the cedar chest back down to the bare wood and start over. This time I waited four days for the special walnut stain to completely dry. But it was worth the effort because I couldn't be more thrilled with the results.
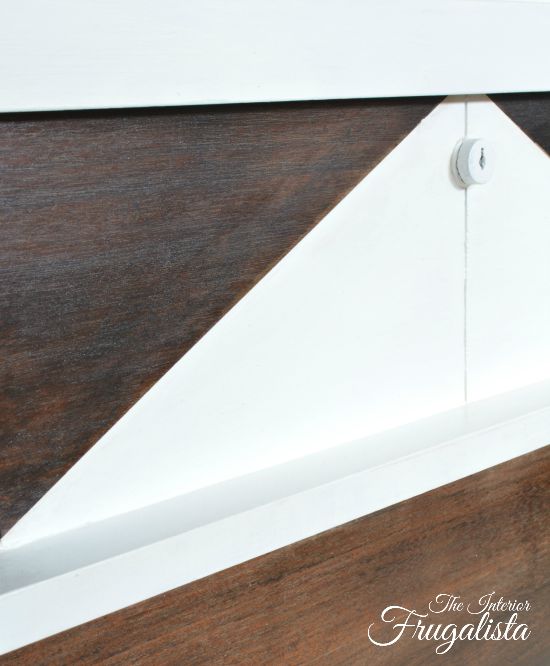
Let's take a close look at those same damaged areas pictured above now that they've been refinished and the hemp oil topcoat applied properly.
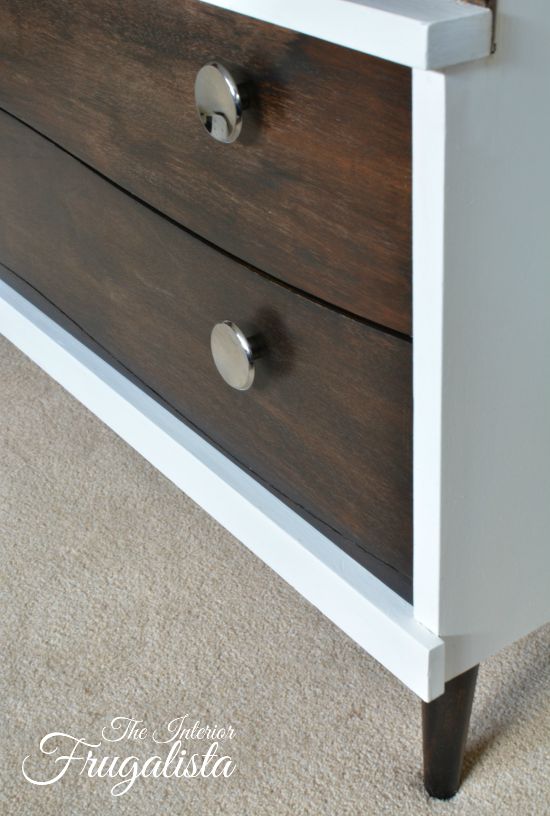
Big difference, right? Now the edges on the white triangle are nice and crisp again and the stain has an even finish.
The original pulls were replaced with simple round chrome knobs.
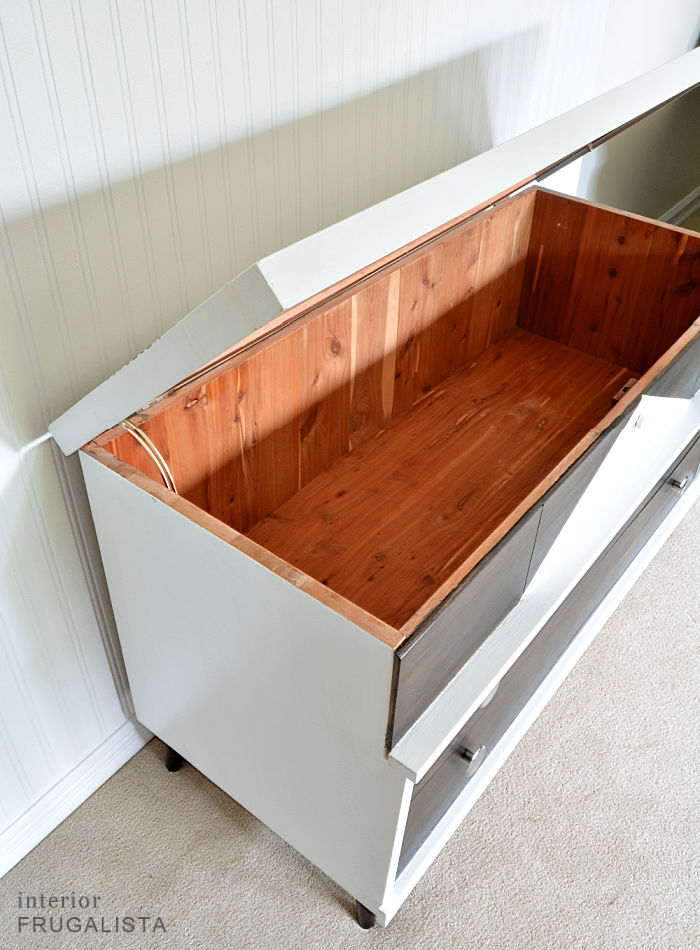
The interior of the cedar chest was in perfect condition and just needed vacuuming and a quick wipe with soap and water.
While the DIY cedar chest makeover ended up being a lot of work in the long run, I'm thrilled with the results. I'm happy to report that it sold before I even had the chance to list it. Love when that happens!
Thanks for stopping by the Interior Frugalista today! I hope you are inspired by the mid-century modern before and after cedar chest makeover and that it sparked an interest in trying hemp oil as a natural topcoat on your next furniture makeover.
Almost all of our DIY ideas have step-by-step tutorials so why not get your budget DIY on and subscribe. You can also find us on Pinterest, Facebook, Instagram, and YouTube.
If you have any questions, please leave them in the comment section below or the Contact Me tab at the top to drop me an email. I love hearing from you!
If you enjoyed this cedar chest makeover idea and the tips for applying a hemp oil topcoat, I'd be so thankful if you shared it with a friend and pinned it to your favorite board on Pinterest.
I share my projects at these inspiring link parties.






What a huge difference. She's classy and sassy and that arabesque runner at the top is so unique. I really need to work on my stenciling technique. It always ends up looking messy.
ReplyDeleteThank you so much, Michelle! As for your stencilling skills, just keep the less is more rule in mind with the paint. 😀
DeleteYou did an amazing job with your cedar chest. I love how you painted a triangle on the front and the stencil really makes it.
ReplyDeleteHi Meagan, thank you very much! It was a fun makeover, despite the hiccups along the way. I'd love to find another cedar chest like this one to makeover.
Delete