No-Sew Tailored Bed Skirt For An Adjustable Bed
In the fall we purchased an adjustable reclining bed. What I didn't realize was that a standard bed skirt would no longer work. Because the top of the base reclines, so too does the dust ruffle. I soon learned that reclining bed skirts come with a hefty price tag.
Too cheap to fork out that kind of cash, I put my thinking cap on to see how I could modify a standard bed skirt to work. My idea worked and so if you also have a reclining bed, here's my trick for a no-sew tailored bed skirt for an adjustable bed that's easy to remove for washing too!
How To Modify A Standard Bed Skirt For Reclining Adjustable Beds
Not only did I save myself a lot of money, but the bed skirt modification took less than thirty minutes. No sewing machine required! Plus when it's time to throw it in the wash, you don't have to lift a heavy mattress to take it off. What's not to love about that.
Will This Modified Bed Skirt Work For Standard Beds Too?
Why yes it will! Whether you have an adjustable bed or standard bed frame, this modified velcro-style dust ruffle will work.
I have to admit that our new bed sat skirtless for several months. I kept putting this project on the back burner until I saw that the theme for our Int'l Bloggers Group challenge this month is silk or linen. Just the motivation I needed to finally cover our naked bed.
If you haven't heard of our Int'l Bloggers Club, we are a group of blogging friends from around the globe who come together on the third Monday of every month to share a themed DIY project. Links to my uber-talented friend's silk or linen creations can be found further down in the post.
We have members from Spain, South Africa, Australia, the USA, and Canada. The theme for our last challenge was leather and I shared a curvy embossed leather footstool makeover.
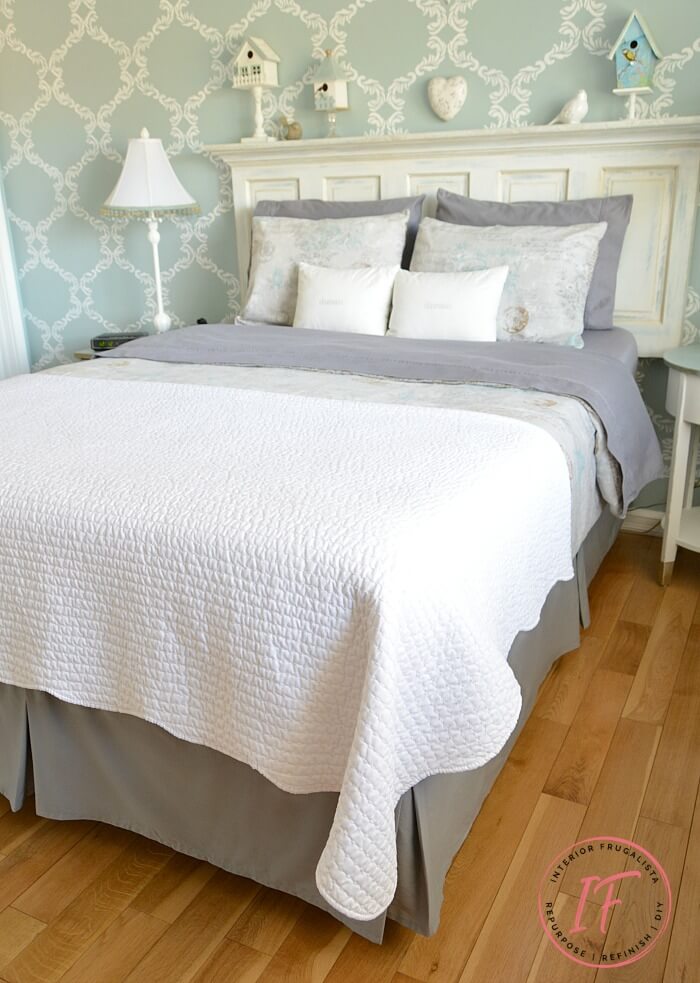
Let's look at what the modified tailored bed skirt looks like on a reclining bed when it's in the flat position.
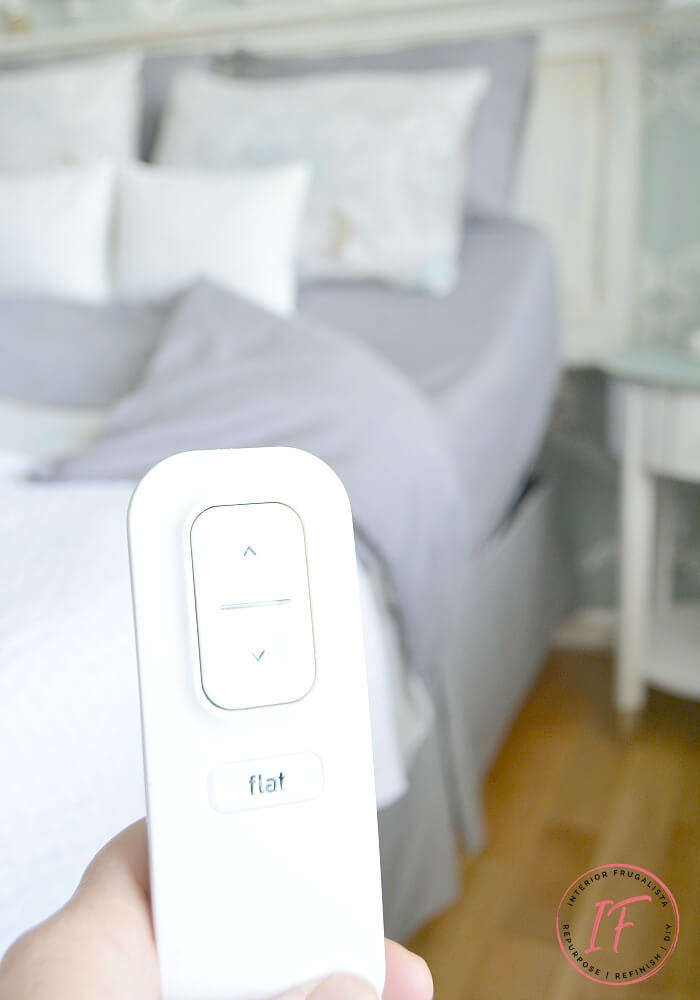
And here it is with the adjustable base reclined. See how the modified bed skirt doesn't move up with the base?
Before we get into the nitty-gritty of how to make an adjustable bed dust ruffle, almost all of the DIY projects shared here at Interior Frugalista have step-by-step tutorials so why not get your budget DIY on and subscribe. You can also follow us on Pinterest, Facebook, Instagram, and YouTube.
What You'll Need To Make It
This post contains affiliate links so you can see what products I used or recommend for this project. As an Amazon Associate, I earn a small commission from any qualifying purchases at no extra cost to you. Thank you for your support!
Modifying a standard bed skirt is quite easy and requires no sewing. I found my grey cotton queen pleated bed skirt for $19.99 at Walmart.
To modify a standard bed skirt you'll need 3/4-inch self-adhesive velcro. We used approximately 22-feet for a queen-size bed. Bonus, we found ours for $2 a package in a clearance bin at Fabricland.
Here's How I Did It
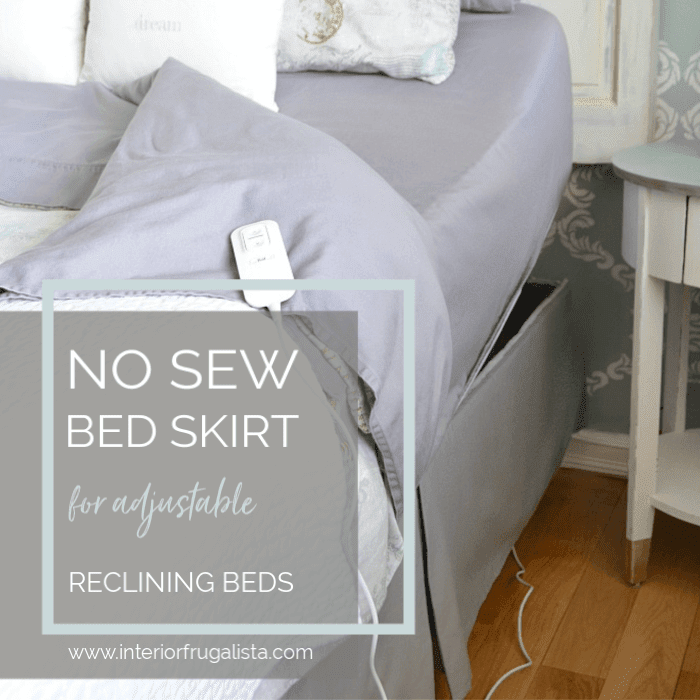
See what I mean when I say that the platform on the top of the adjustable base reclines and how a regular skirt would lift right along with it?
Wash Standard Bed Skirt
First, wash the bed skirt and dry it on the low heat setting. I didn't iron mine at this point (or any point for that matter) and we'll talk more about that further down in the post.
Remove Bed Skirt Decking
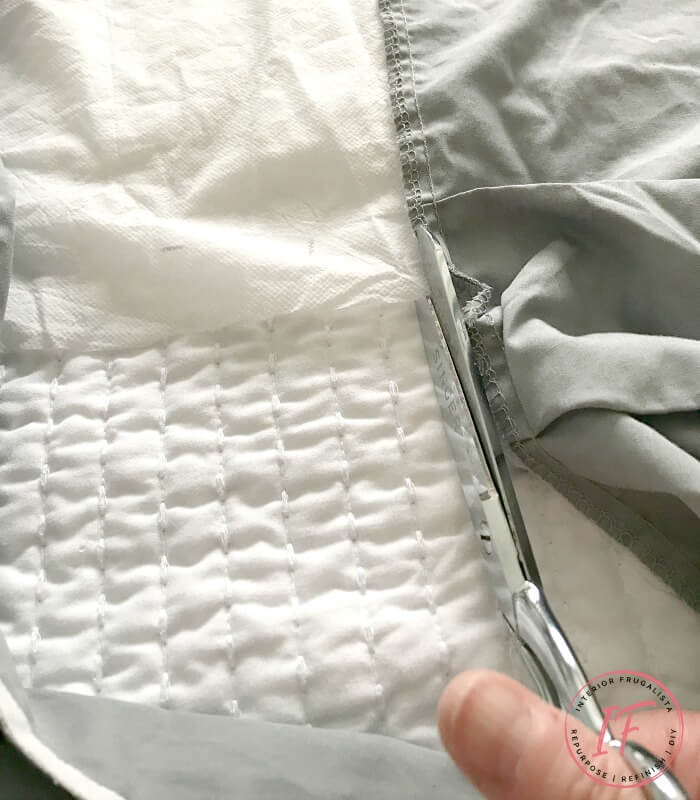
Remove the bed skirt decking fabric (middle fabric) by cutting along the seam of the dust ruffle with sharp sewing scissors.
Why didn't you purchase a reclining bed skirt?
You may be wondering why I didn't just purchase a readymade reclining bed skirt instead. Reclining bed skirts have a six-inch border around the dust ruffle that lays on top of the platform under the mattress. On the part of the platform where it reclines, the fabric border hangs over the frame.
I can see the fabric border being prone to shifting and a nuisance. If you've tried these reclining bed skirt options, I'd love to get your feedback in the comment section below. Instead, my reclining bed skirt version is secured with velcro.
But another reason I made my queen-size adjustable bed skirt is that it cost me approximately $25 compared to upwards of $140 for one that size. So worth the thirty minutes it took to modify a regular bed skirt.
Velcro Fasteners
With the wrong side of the skirt facing towards you, attach the velcro loop (fuzzy side) of the velcro to the top edge of the bed skirt. Press firmly with your fingers for good adhesion. Add a dab of washable fabric glue every so often for extra adhesion.
Attach the velcro hook (pointy side) of the velcro along the top edge of the reclining bed base as pictured below. Press firmly with your fingers for good adhesion.
For extra adhesion, rather than fabric glue like I suggested for the bed skirt velcro, my recommendation is to use a dab of hot glue every so often instead. Why? Because if you ever want to remove the velcro from the base, it's easier to do without damage.
Can I remove the velcro from the bed base without damaging it?
The self-adhesive velcro strip can be removed without damaging the bed base. However, if you used dabs of hot glue every so often like I suggested for extra adhesion, then you'll need to take these extra steps to remove it.
- Heat the dabs of hot glue with a blow dryer to melt it and carefully peel the velcro from the bed base.
- Any residual glue left on the base can be removed while it is still hot by pressing a clean cotton rag on the melted glue and lifting it quickly before it cools.
- If any bits remain after it cools either repeat step two or try rubbing it off with your fingers.
Attaching The Bed Skirt
If you used a pleated bed skirt, then start attaching the bed skirt by lining up the two corners at the foot of the bed first. Then work your way to the head of the bed on each side. If your bed skirt is a ruffle style, then start at one side of the headboard and work your way around.
Pre-iron the bed skirt or not?
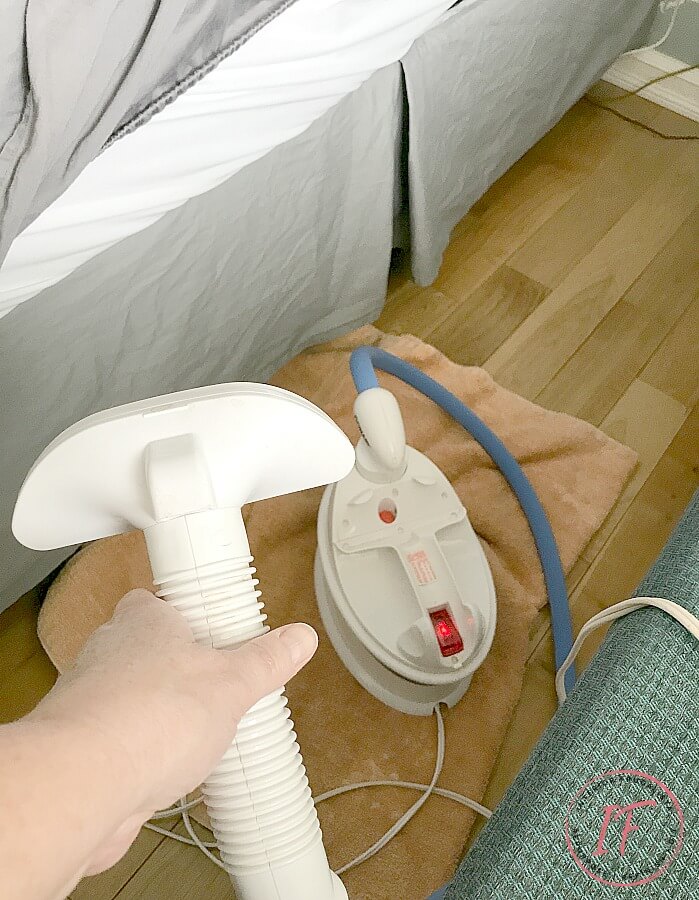
My answer will always be, heck no! Instead of pre-ironing the bed skirt, I use a handy portable fabric steamer and drapery tool attachment to steam out the wrinkles after it's on the bed. Otherwise, you'll need to iron the bed skirt before adding the velcro.
The best part of this DIY bed ruffle is that when it needs to be laundered, no more lifting a heavy mattress to remove the bed skirt.
If you are wondering about the wall and the headboard, you can find those DIY projects here in my tips for stenciling a wall and repurposed door headboard posts. I've also included links for instructions on how to make the pedestal dollar store birdhouses displayed on the mantelshelf as well as to the box store night table makeover.
Thanks for stopping by the Interior Frugalista today! I hope you were inspired by this modified adjustable bed skirt idea. If you have any questions, please leave them in the comment section below or the Contact Me tab at the top to drop me an email. I love hearing from you!
If you enjoyed this reclining adjustable bed skirt DIY, I'd be so thankful if you shared it with a friend and pinned it to your DIY Bedding Ideas or No-Sew Projects board on Pinterest.

As promised, here are the links to our talented group member's silk or linen-inspired projects.
Minimal Water Colour Abstract Linen Painting | Northern Feeling
How To Make A Silky Bohemian Dreamcatcher | A Crafty Mix
DIY Pin Cushion Made With Linen | A Pretty DIY Home
I share my projects at these inspiring link parties.







Two things.....
ReplyDelete1. "Hell yeah mamma" to the no-iron policy. I'm actually going to make a sign at home so everyone knows that ;-)
2. Love how easy your no-sew bed skirt is. My Mom fell and broke her hip 3 weeks ago and I've been eyeing out the recliner beds for her. She hides all kinds of stuff under her bed and she didn't want to hear nothing about any new bed if it didn't have a bed skirt to block off her under bed storage. Guess that problems been solved now. Can't wait to show her how easy this one is.
So sorry to hear about your Mom, Michelle. She will LOVE having a reclining bed! The only thing stored under our bed is the collection of dust bunnies. Nobody needs to see that herd!
DeleteHow clever!! Now you got me thinking that this might be the way to add a bed skirt for our bed that has a frame that won't allow any normal skirts either. SO going to try that, Thanks for the inspiration!! Love your reclining bed!!!
ReplyDeleteYay, so glad mine provided the inspiration you needed for your bed frame, Katrin! Yes, we do love our new reclining bed. So comfy cozy for reading!
DeleteEasy to make and no iron? I'm in! I think the use of Velcro was very clever on your part Marie. It really is too much work to have to lift the mattress off to get the bed skirt off.
ReplyDeleteThis idea solves that back aching problem. And your new reclining mattress looks so comfortable.
Oh it is very comfy cozy, Mary! So glad we went with that choice. Yes, I'm loving how easy it is to wash the bed skirt. Those high mattresses seem to be getting heavier and heavier to lift. Oh wait a minute, maybe it's an age thing. LOL
DeleteGreat idea Marie, you have to love a DIY project that saves money and turns out so well. I have made custom bedskirts for our tall beds but never considered starting with a purchased one. An adjustable mattress must be heaven. Good for you girl.
ReplyDeleteIt is heaven, Leanna! I'm so glad we spent the extra funds to get it. My little grandson loves it too, he thinks it's a fun toy.
DeleteLOVE this - I need a new bedskirt because I changed some things and the old one just didn't work. I have to buy a new mattress and box springs very soon - I would love a reclining bed but it's just not in my budget. I also have acid reflux and take both Prilosec and Zantac (the generics of course) and I have two suggestions for you. Sleeping on your left side helps because of where the stomach is located. The other is always keep apples or applesauce for when you get that awful burning. They work like nothing else - I think it is because of the pectin in the apples. We usually have apples but I always have those little lunchbox sized applesauce in the fridge just in case. You can google both of these things - that's how I discovered them and they work.
ReplyDeleteI had no idea apples or apple sauce helped with the burning! Thank you so much for the tip 😀 Far better than taking over the counter heartburn relief on top of the acid reflux medication. As for our reclining bed, the mattress store offered one they used as a demo at a trade show that weekend for 50% off. I was thrilled we got it within our budget.
DeleteBeautifully done, Marie! You always have your thinking cap cranked up to the max and I LOVE it! Plus, what a score with the Velcro... XOXO
ReplyDeleteThanks Susie, I love that I can keep the bed at a slight incline and the skirt remains as it should. But what I REALLY love is that I can just rip it off when it needs a wash instead of using hurculean strength to lift the heavy mattress.
ReplyDeleteWhat a great idea Marie!! The only reason I don't have a bed skirt is lifting the mattress to get it on & off!! Guess what I'm going to be doing soon?? I'll have to shop for a new skirt to modify!! Thanks for the idea!
ReplyDeleteSo glad my modified bed skirt idea was the inspiration you needed to skirt your bed! Hope you find the perfect bed skirt soon 😊
DeleteSuch a great idea, Marie and how cool is your bed!!! Added bonus that you don't have to iron it! I always say that our bed covers are going for the vintage look in our house due to the crinkles! Might just have to look into one of the steamers that you use too!
ReplyDeleteThanks Sam, I love our adjustable bed. Really wanted to get the dual reclining model but it was waaaaay over our budget. The skirt fabric says no iron but it still came out of the dryer with wrinkles. I'm just too darn lazy to iron when I can do the job in half the time with a steamer.
DeleteThis is a GREAT idea, and super nifty tutorial, Marie! I did something similar for my bed, as well! Always love having you at Homestyle Gathering, sweet friend! Pinned!
ReplyDeleteIsn't it so much easier having a bed skirt this way? I'll never have a standard one again. Thank you for the love and the pin! xo
DeleteThanks Marily, appreciate it!
ReplyDeleteThis is BRILLIANT, Marie! I made our California King bed a bedskirt a few years ago with old linens and after we moved in, I just pulled it from the dryer and pulled under the mattress. This inspires me to rethink putting the middle piece in if I can just velcro the thing on! :D Getting too old and it sures saves the back, I'm sure! Coming over from
ReplyDeleteHappy Mother's Day to you,
Barb :)
Hi Barb, thanks for popping over for a visit! Definitely forget that middle piece and go with the velcro, your back will thank you! Wishing you a Happy Mother's Day too 😊
DeleteThis is a great idea, as we just got our split king adjustable beds. But no frame. Wondering how it would work with this kind of set up?
ReplyDeleteHi Linda, wish I could be more helpful but I'm stumped how to make this work with a split king, especially without seeing a photo. If you'd like more help, press the contact me button at the top of the blog and drop me an email. Or click the FB icon at the top of the blog and contact me via FB Messenger. I'd be happy to help 😀
DeleteSo, will the velcro come off the skirt when you wash it?
ReplyDeleteI have had no issues with it coming off but you could add dabs of fabric glue every so often for extra adhesion. I will edit the post to add that tip.
DeleteYou saved my day! I couldnt find a bedskirt that i liked for my adjustable bed!! This is amazing!
ReplyDeleteI'm so glad to hear you found my bedskirt idea helpful!
DeleteYou saved my day with this idea. I just purchased a sleep number adjustable bed & totally freaked out looking for a bed skirt…….thank you so much because now I can still use my bed skirt from my comforter set……you’re a blessing.
ReplyDeleteI am so happy to hear you found this helpful and glad you are able to modify the bed skirt that came with your set! Enjoy your new sleep number adjustable bed.
DeleteThis comment has been removed by a blog administrator.
ReplyDelete