Ticking Fabric Pumpkins with Cabinet Knob Stems
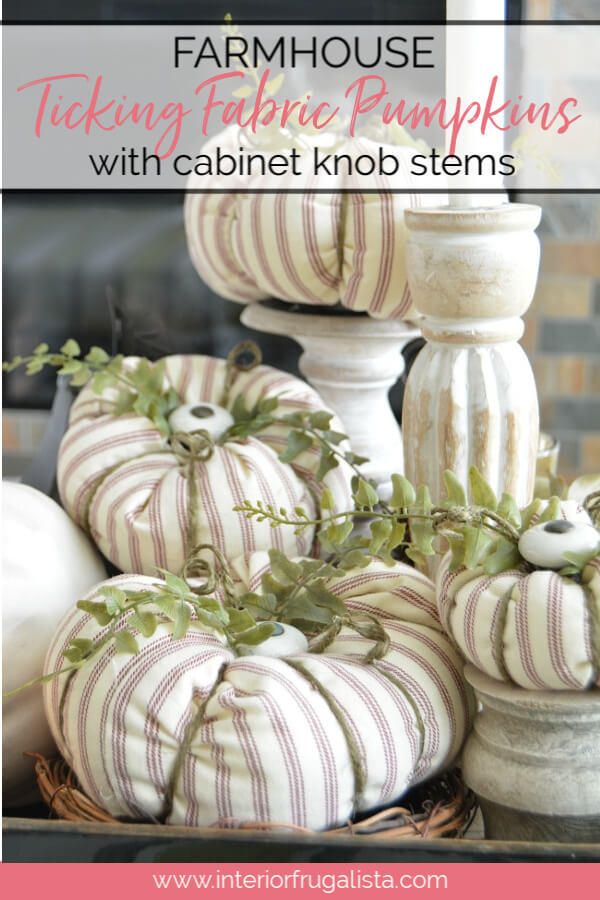
Do you save old garments, linens, and draperies for crafting potential? I save everything, including the armchair slipcover used for today's DIY fabric pumpkin tutorial. I am sharing how to make the cutest farmhouse-style ticking fabric pumpkins. But what makes them unique is the repurposed kitchen cabinet knob stems.
DIY Fabric Pumpkins With Cabinet Knob Stems
I'll show you how easy it is to make these inexpensive fabric pumpkins made with recycled materials found in my fabric and craft bins in the basement. Thrift stores are another great resource for sourcing materials to make these DIY fabric pumpkins.
Optional Fabric Suggestions For Making DIY Pumpkins
- While my red ticking stripe pumpkins have farmhouse charm, you could make regal pumpkins the same way with crushed velvet and pretty glass or beaded furniture knobs for the stems.
- Another idea is to make recycled sweater pumpkins much the same way and instead of furniture knobs, use tree branches foraged from your yard for the stems.
- If you prefer a non-traditional fall decorating style, use bright bold patterns in fall colors like these retro fabric pumpkins. Instead of cabinet knobs, I used wooden chair spindles for the stems.
How To Make Fabric Pumpkins
This post contains affiliate links so you can see what products I used or recommended for this project. As an Amazon Associate, I earn a small commission from any qualifying purchases at no extra cost to you. Thank you for your support!
Supply List
Red Ticking Stripe Fabric or fabric of your choice
Matching All-Purpose Thread
Fiber Fill
Twine
White Ceramic Cabinet Knobs
Artificial Fern Picks
8-inch Upholstery Needle
Hot Glue Gun
Awl
You'll also need Mod Podge or white school glue to finish the pumpkins.
DIY Fabric Pumpkin Tutorial
If you can sew a straight line, you can definitely make these pumpkins! No worries if you don't have a sewing machine as the fabric pumpkins can easily be handstitched.
Step 1 - Fabric Pumpkin Measurements
The trick to measuring the fabric is to divide the width in half to get the height. I recommend making fabric pumpkins in multiple sizes as follows:
Large Fabric Pumpkin: 20-inches wide x 10-inches tall
Medium Fabric Pumpkin: 16-inches wide x 8-inches tall
Small Fabric Pumpkin: 12-inches wide by 6-inches tall
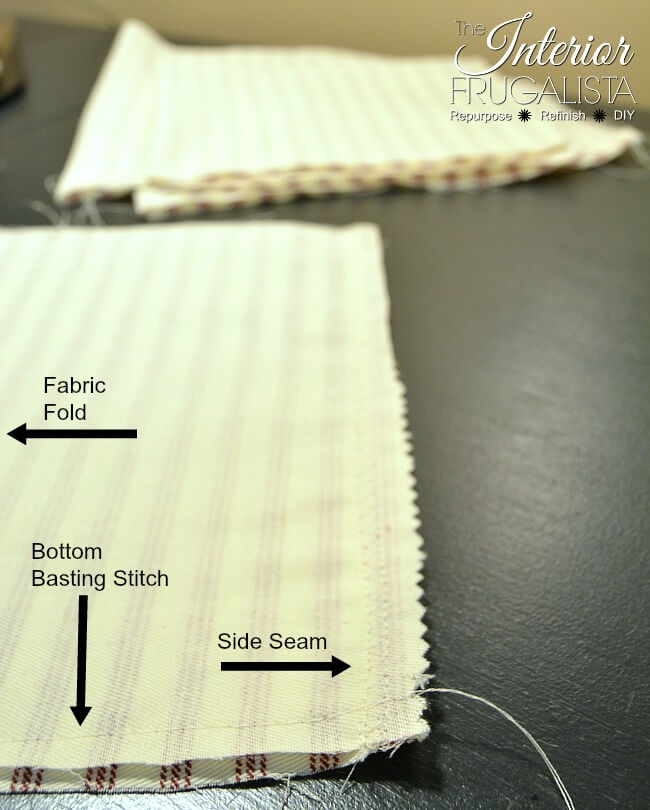
Step 2 - Sew Fabric Pumpkin Side Seams
Close the side seam with either a sewing machine, hand-stitched with a sewing needle, or fabric glue for a no-sew option.
- Fold the fabric with the short sides together.
- Sew the side seams together.
- To prevent the fabric from fraying, I used the elastic stitch setting on my sewing machine which mimics a serged finish.
Step 3 - Sew Fabric Pumpkin Bottom Seam
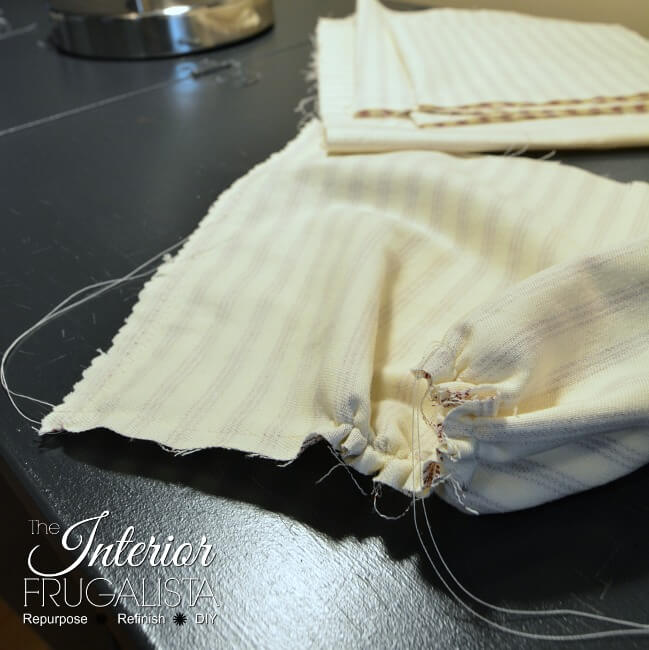
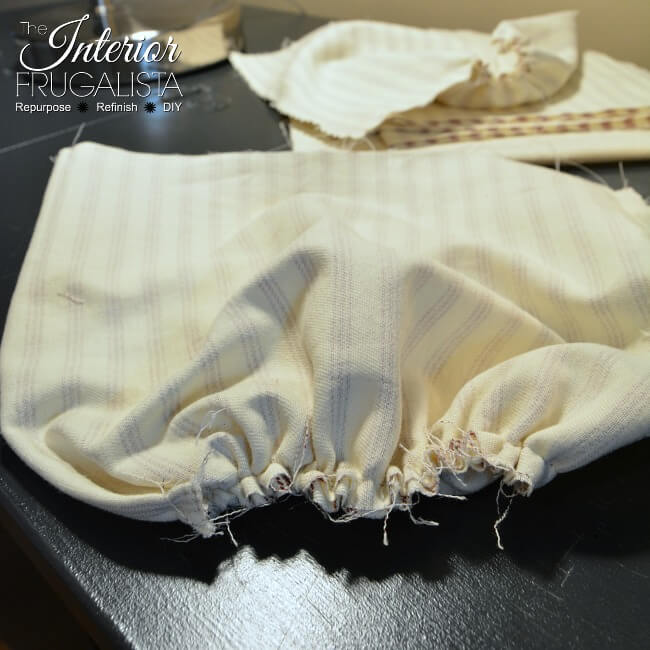
- Baste stitch the bottom seam (the largest stitch setting on the sewing machine) or a handstitched running stitch and leave long threads on either end.
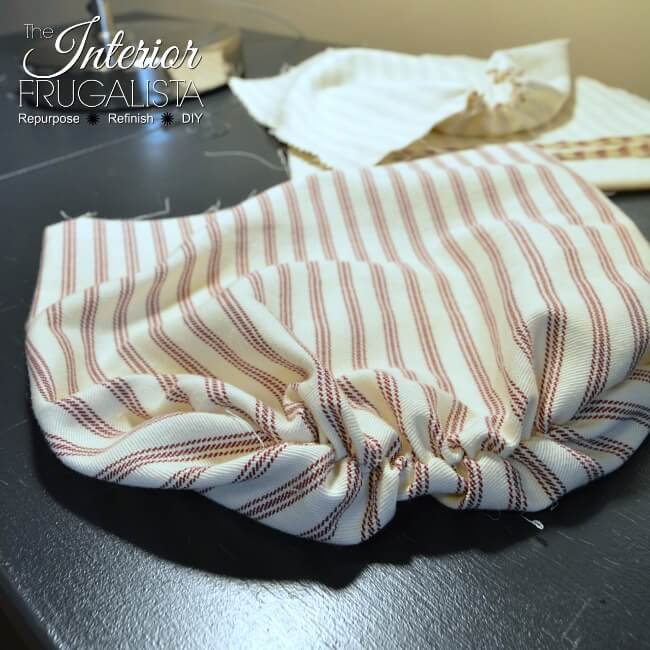
- Gently pull on the top thread to gather the fabric (as pictured below).
- Repeat by pulling the top thread on the opposite side (as pictured below).
- Tie the ends to secure the gathers.
No-Sew Option For Fabric Pumpkin Seam
For a no-sew option, gather the fabric in your hand and tie it off with an elastic band.
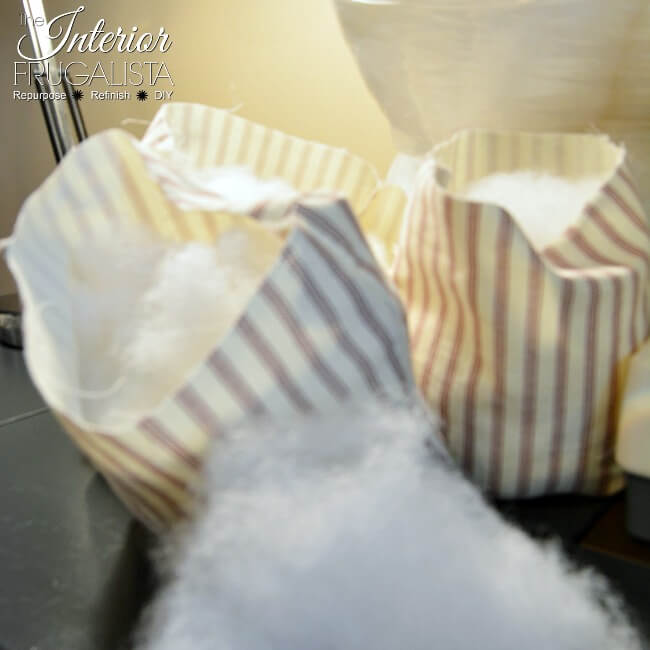
Next, turn the pumpkins right side out and we'll move on to stuffing the pumpkins with batting.
Step 4 - Fill Fabric Pumpkins
Fill the pumpkins with fiberfill batting up to approximately 1-1½ inches from the top.
Step 5 - Sew Fabric Pumpkin Top Seams
- With a needle and all-purpose thread, hand stitch the top closed and gather the fabric the same way as outlined in Step 3.
- Draw the points together into the center and stitch them in place.
Step 6 - How To Make Fabric Pumpkin Ribs And Tendrils
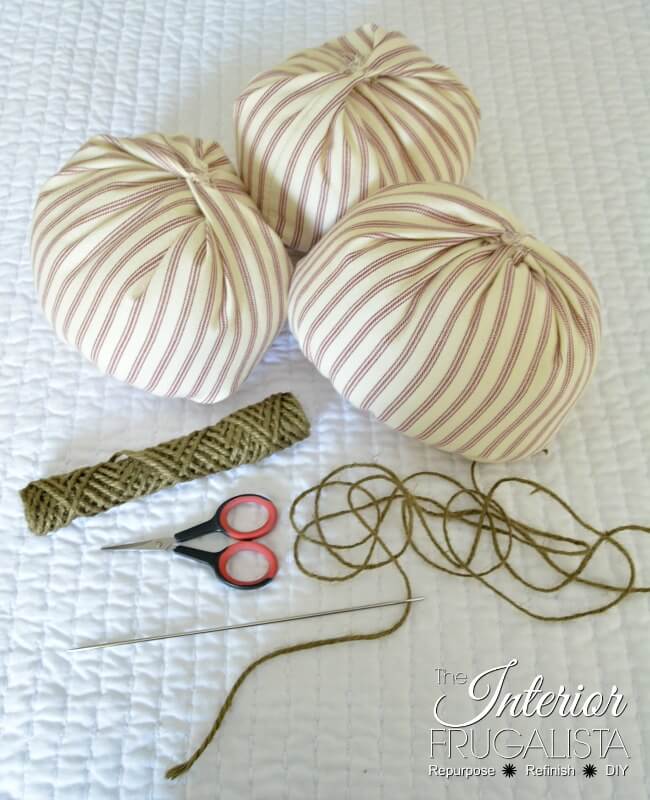
Cut twine in the following lengths per each size of pumpkin:
Large: 90-inches
Medium: 80-inches
Small: 70-inches
Safety Tips
- Be cautious when pushing the large upholstery needle through the pumpkins so it doesn't poke your hand.
- With an 8-inch upholstery needle, thread a strand of twine through the top of the pumpkin and out the center of the bottom. You may want to use a thimble to help push the needle through the bulk of the pumpkin.
- Leave a long strand at the top for the first tendril.
- Holding the tendril in place with your thumb, pull the thread over the pumpkin and insert the needle into the top center and back through the base.
- Wrap it over the opposite side of the pumpkin and pull it taut to form the first two ribs and tie in a knot to hold them in place.
- Repeat the last two steps until you have eight ribs and tie in a knot to secure.
- There should be two strands of twine at the top of the pumpkin for tendrils as pictured below.
Step 7 - How To Add Cabinet Knob Stems To DIY Fabric Pumpkins
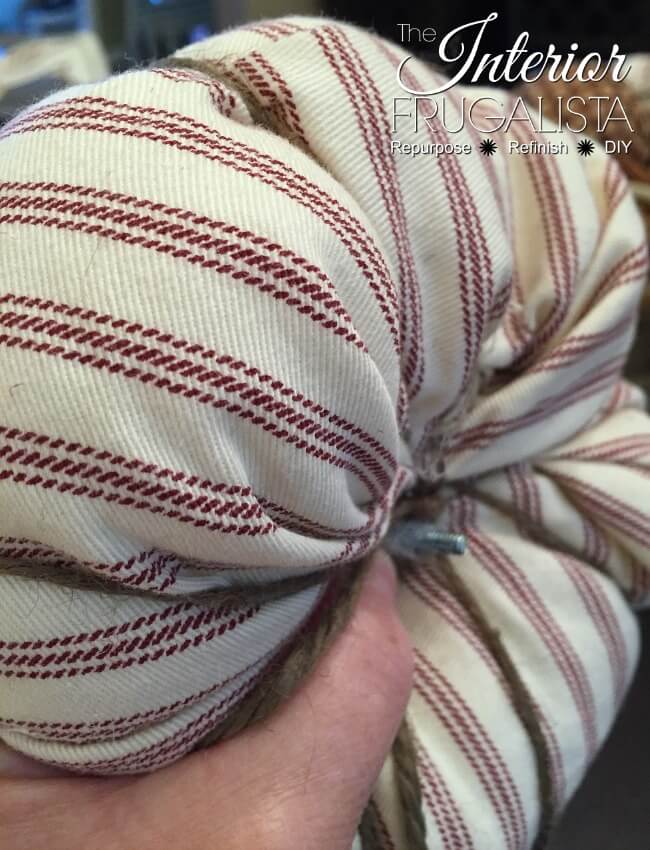
- With an Awl, poke a hole through the top and down to the bottom of the pumpkin and move the Awl in a back-and-forth motion to create a large enough hole (pictured above). Be careful during this step because the tip of that Awl is very sharp when it pops through the bottom.
- Squish the pumpkin as tight as you can and from the bottom of the pumpkin, pull the cabinet knob screw through the hole created by the Awl and out the top of the pumpkin (pictured below). I'm not going to lie, lining up the screw can be a bit frustrating so patience is key.
- Twist the knob onto the screw and hand tighten it to secure. You may need to use a screwdriver to tighten the knob completely.
Step 8 - How To Make Fabric Pumpkin Leaves
I save everything and had quite the collection of faux greens in a large plastic tote. I found several plastic ferns that I've had in my stash for over twenty years and they were perfect to use as pumpkin leaves.
I cut the stems off the picks with wire cutters and tucked them under the cabinet knob stems and secured them with a dab of hot glue.
Step 9 - How To Curl Twine Pumpkin Tendrils
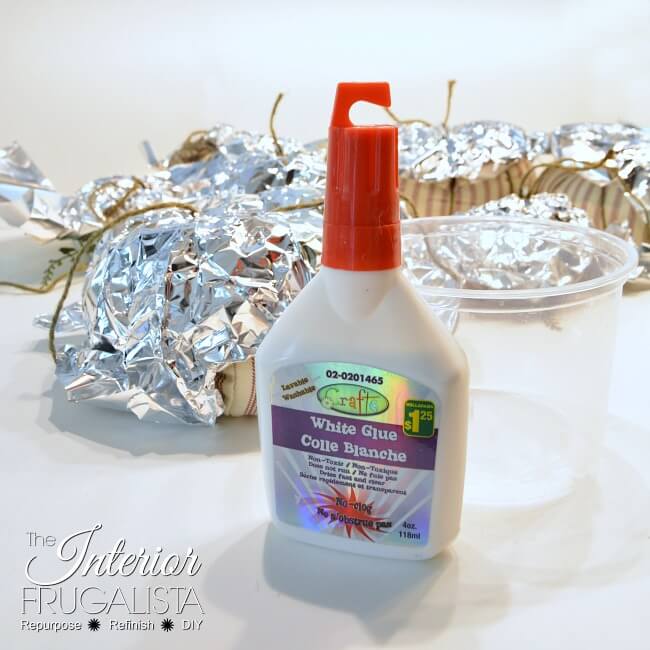
You'll want to use tin foil or plastic wrap to protect the fabric during this step. To curl the tendrils you'll need either white crafting glue or Mod Podge.
- Pour white school glue or Mod Podge into a plastic container.
- Dip your fingers into the glue and rub a generous amount on the twine tendrils.
- Wrap the twine around a pencil, pen, or whatever you have on hand and let them dry for about an hour.
- Carefully slide the markers off the tendrils and let them completely dry while still curled.
- Once dry, loosen the curls to your liking.
That's it, we're done. There may seem to be a lot of steps to making the fabric pumpkins but each step goes rather quickly. Once you've mastered making one set of DIY fabric pumpkins, you'll be looking for other fabric remnants to make more!
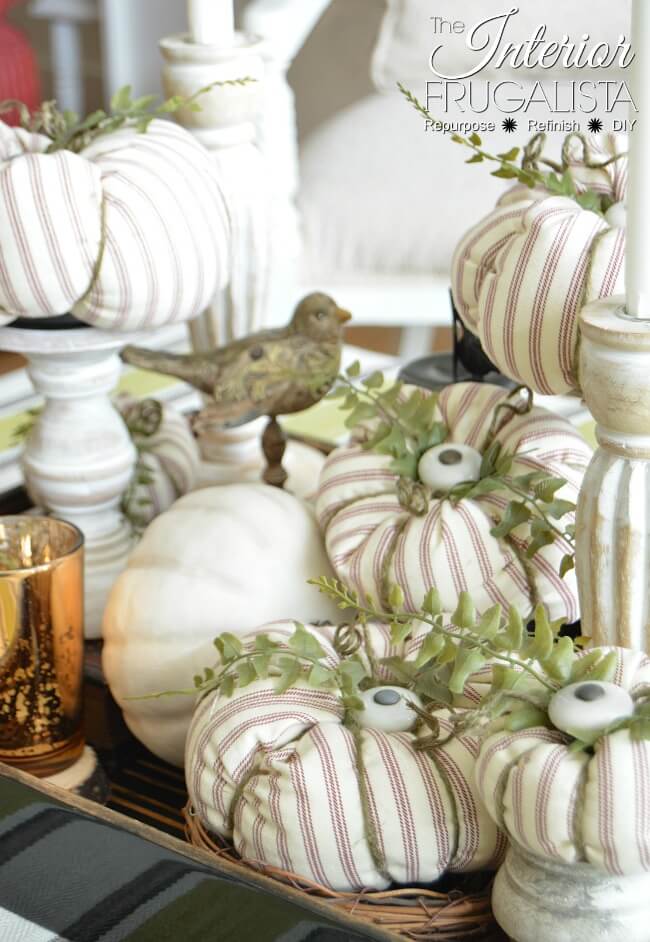
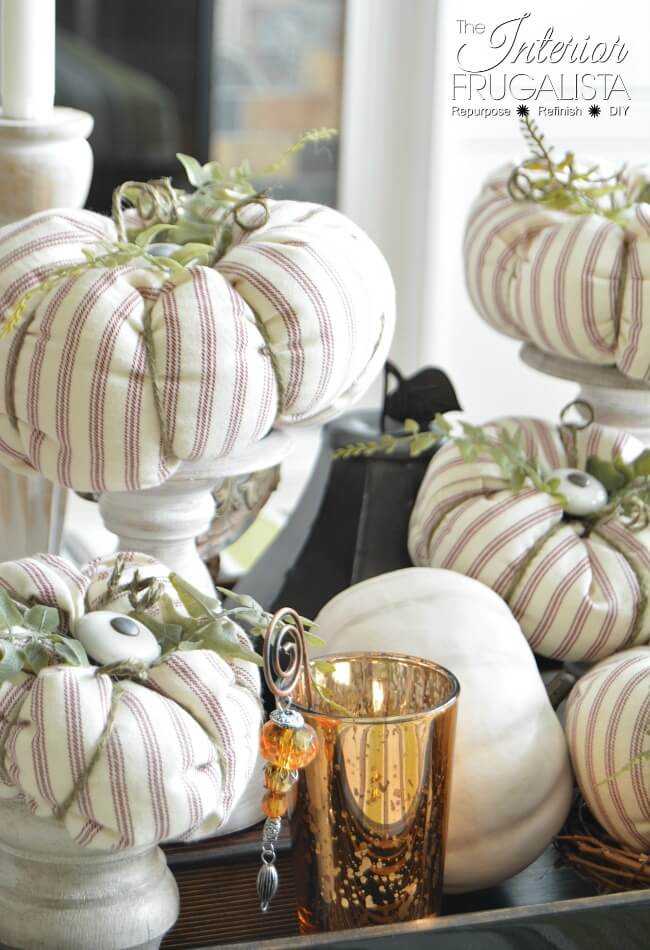
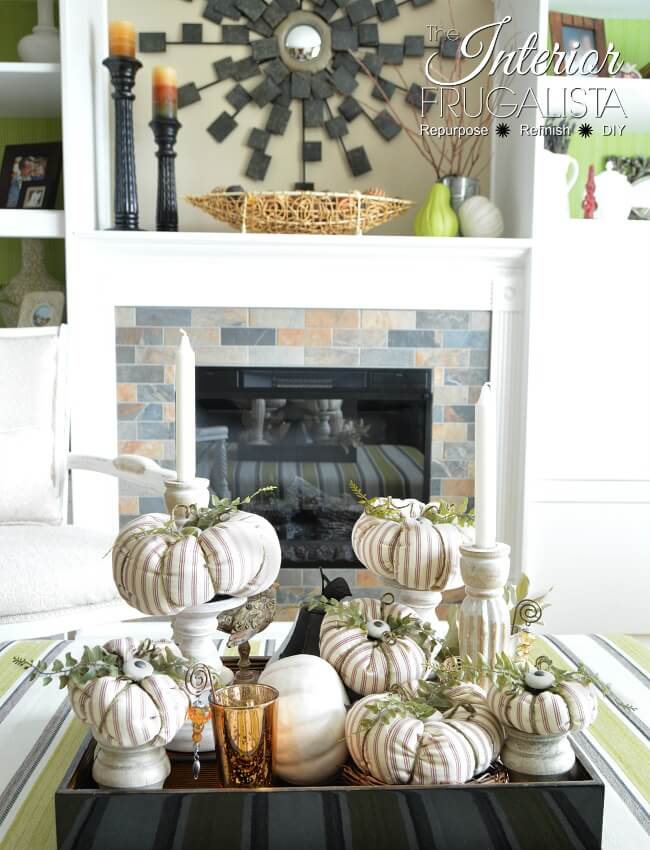
Showcase the DIY pumpkins by creating a lovely Fall vignette on a coffee table tray with a mix of fabric pumpkins set on wooden candleholders and painted dollar store pumpkins as pictured below.
For more pumpkin craft inspiration see our 12 DIY pumpkin ideas that are easy on the wallet. Thanks for stopping by the Interior Frugalista today! I hope you were inspired by this DIY fabric pumpkin tutorial.
Almost all of our DIY ideas have step-by-step tutorials so why not get your budget DIY on and subscribe. You can also find us on Pinterest, Facebook, Instagram, and YouTube.
If you have any questions, please leave them in the comment section below or the Contact Me tab at the top to drop me an email. I love hearing from you!
If you enjoyed how to make fabric pumpkins with a recycled ticking stripe slipcover remnant, I'd be so thankful if you shared it with a friend and pinned it to your favorite board on Pinterest.
I share my projects at these inspiring link parties.









Love how they turned out. Such a fun and easy project.
ReplyDeleteThank you so much, Pamela! I love the farmhouse charm they add to my Fall decor.
DeleteThank you so much for the pin and share, Marilyn, I appreciate it! xo
ReplyDeleteMarie,
ReplyDeleteI love your pumpkins with the ticking and cabinet knobs. Congrats, you are being featured on Thursday Favorite Things. I hope you will stop by.
https://www.eclecticredbarn.com/2019/10/thursday-favorite-things-linky-party.html
Hugs,
Bev
I was thrilled to see my ticking stripe pumpkins featured at the party yesterday. Thank you so much Bev, I appreciate it! xo
DeleteOh Marie, you're speaking my love language with this one! Ticking AND vintage looking porcelain knobs. Love this so much! Thanks for sharing at Sundays on Silverado.
ReplyDeleteNiky
I'm glad to hear you like the farmhouse style fabric pumpkins, Niky. They are always my favorite to decorate with during the autumn season. Thank you!
DeleteOooooh my goodness, these are so up my alley! Love the fabric and the knobs! Pinned
ReplyDeleteThank you Cindy, they definitely have the farmhouse vibes. Thanks for the pin 😊
DeleteMarie, Your pumpkins are adorable and as always, you've got me thinking outside of the box.
ReplyDeleteNow, if I can only find that old blue stripe shirt :)
hugs,
Rachelle
So happy to hear you were inspired by my farmhouse pumpkins, Rachelle. I hope you find that blue stripe shirt to make your own version. Happy pumpkin making!
DeleteThese are adorable!! I have this exact fabric at home, now I know exactly what to do with it, I just need to find the time!!!
ReplyDeleteThank you very much, Kristin, I'm glad you like them AND that you have the same fabric. Happy pumpkin making!
DeleteAbsolutely adorable! I'm going to try this. Thanks for being so detailed with the pictures.
ReplyDeleteThanks for sharing how you make your fabric pumpkins. Everyone seems to do them a bit differently each time. I have fabric ready to make some - and I love your technique - but I just need to get them done asap. Thanks for linking up. #HomeMattersParty
ReplyDeleteI'm glad to hear you like my technique for making fabric pumpkins, Donna. Happy pumpkin making!
DeleteThese are simply adorable Marie! Thanks so much for sharing them with us at Farmhouse Friday - we're featuring you at tomorrow's party!
ReplyDeleteThank you very much, Michelle, I'm thrilled to hear they'll be featured tomorrow! Out of all the DIY pumpkins I've made over the years, these are still my favorite.
Delete