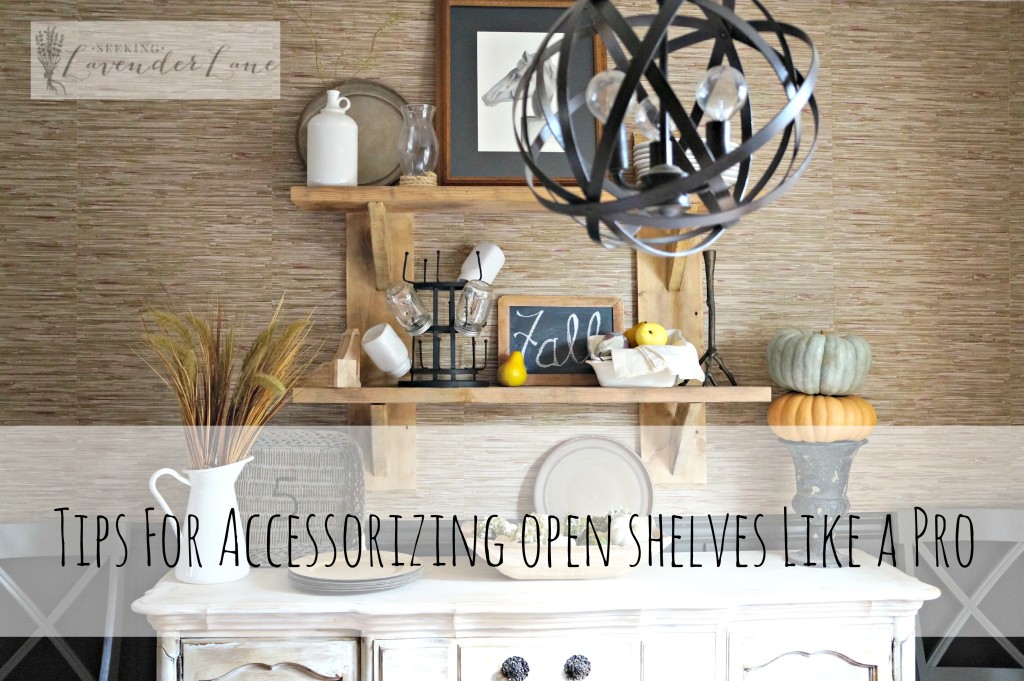
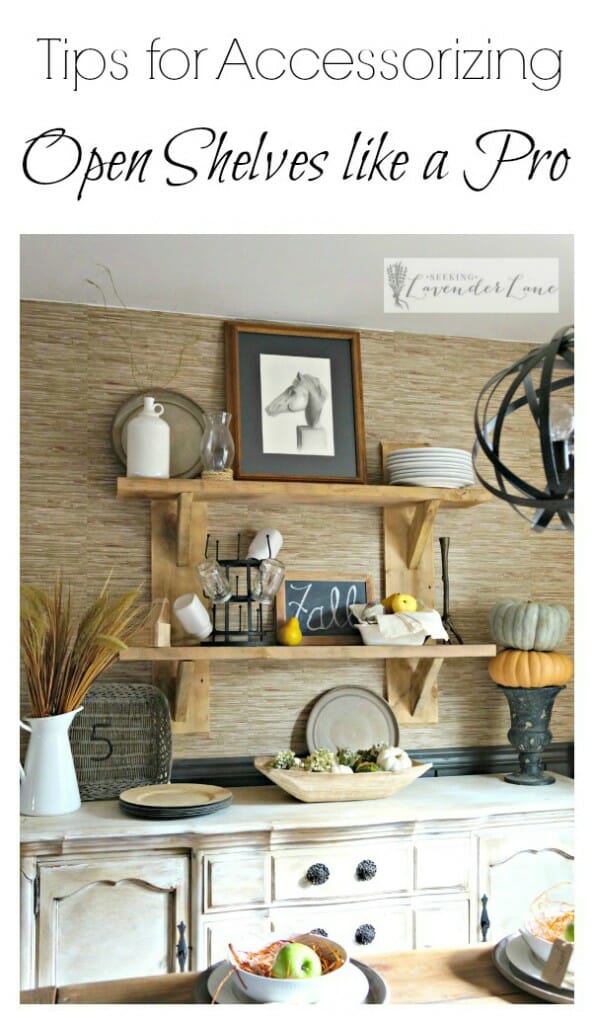
Tips for Accessorizing Open Shelves Like a Pro with Seeking Lavender Lane
Good Morning Friends, I want to introduce you to Deb, the talented blogger behind Seeking Lavender Lane. She and her husband are avid DIYers on a budget like Mr. Frugalista and I and today she is sharing some Helpful Tips for Accessorizing Open Shelves Like a Pro. I just love how she styled her dining room and I hope you will too. So without further ado, take it away Deb...
Hi All! I am so grateful to have an opportunity to share a post of mine here at Marie's page. She is so talented and I am honored to introduce myself to her readers.
I'm Deb from Seeking Lavender Lane, I have been blogging for a little over two years now and have been loving Interior Design since the days of "Trading Spaces". My blog is all about decor and DIY ideas that my hubby and I work on in our home, and all these ideas are for small budget living. I am a mama of two and just recently adopted a dog, so life is definitely busy around here. Designing and blogging keep the creative half of my brain occupied and is a complete passion of mine.
Yesterday, I shared our newest DIY on my blog, these floating shelves in our dining room. Today, I am excited to share how I decorated them and even better...to share Tips for Accessorizing Open Shelves Like a Pro!
Have you all struggled with how to really get the perfect decorated shelf look? It's one of those that sometimes takes trial and error, or a few trips to Homegoods to get all the perfect accessories. I think the worst is if it feels too empty or too cluttered. So, how to get the styling just right? Well, I hope with my tutorial here it can really help to show you how to get that look and with some practice and the right accessories anyone can do it!
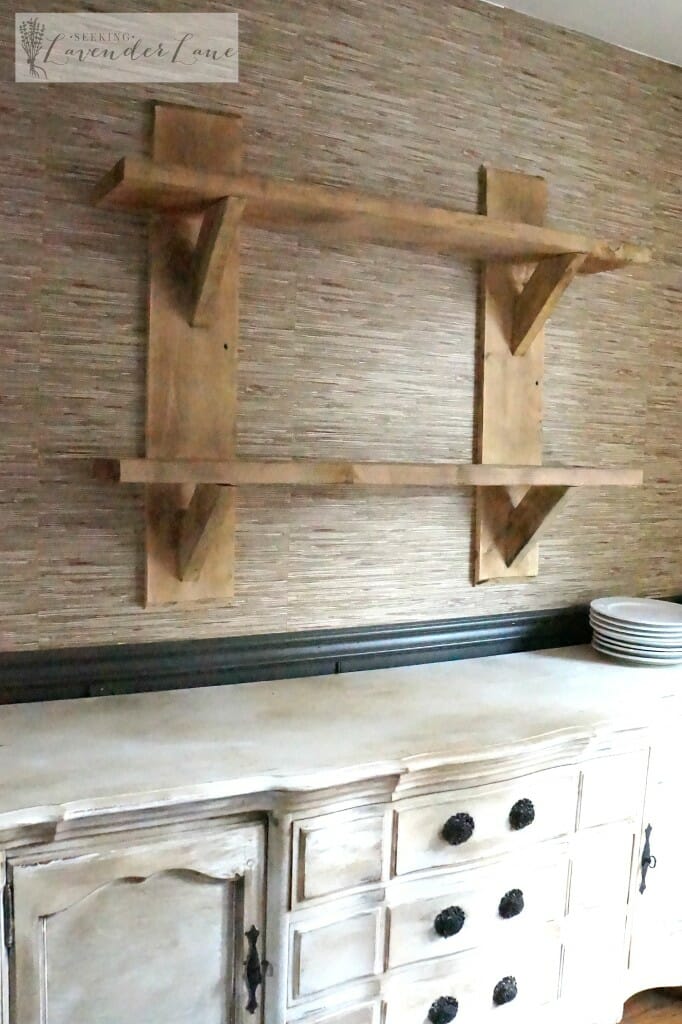
Above is the empty shelves stained and finished. Stop on by the blog to see the tutorial on building these rustic shelves. So...pretty intimidating starting with a blank slate, right? Or if you're a designer it's like the most thrilling thing in the world to get these shelves accessorized...it's like an artist with a blank canvas : )
See how that just filled up a good amount of space and draws your eye right to it since it's directly in the middle and on the top shelf. It also draws the eye up too since it is so tall, and that's ALWAYS a good thing for any space. Make a room seem taller and bigger with vertical decorating! NOW, WHAT?
Play around with which direction each accessory should be facing. It may feel right to you, but something could feel slightly off and that just may be due to the direction the piece is facing. Don't be afraid to play around until it is right! Notice the very subtle corbels I added to the bottom left corner? Those took me some time to point them in the right direction, but eventually, I found the direction they should face that felt just perfect.

Thank you for having me stop by your page, Marie! I hope to have you all come and follow me along on this journey of designing and blogging.
Happy Decorating!
Wow, don't you just love Deb's dining room wall! I love the buffet, the wood wall, the rustic shelves, and how she styled it all. I hope you found her styling tips helpful and it inspired you to tweak your own bookcases and shelves!
I urge you to head over to Seeking Lavender Lane to give Deb a warm hello and check out her fabulous DIYs. She has some serious decorating talent!
Thank you so much, Deb, for sharing your helpful styling tips with my readers. I appreciate your help during my recovery!
Tips For Accessorizing Open Shelves Like A Pro!
Hi All! I am so grateful to have an opportunity to share a post of mine here at Marie's page. She is so talented and I am honored to introduce myself to her readers.
I'm Deb from Seeking Lavender Lane, I have been blogging for a little over two years now and have been loving Interior Design since the days of "Trading Spaces". My blog is all about decor and DIY ideas that my hubby and I work on in our home, and all these ideas are for small budget living. I am a mama of two and just recently adopted a dog, so life is definitely busy around here. Designing and blogging keep the creative half of my brain occupied and is a complete passion of mine.
Yesterday, I shared our newest DIY on my blog, these floating shelves in our dining room. Today, I am excited to share how I decorated them and even better...to share Tips for Accessorizing Open Shelves Like a Pro!
Have you all struggled with how to really get the perfect decorated shelf look? It's one of those that sometimes takes trial and error, or a few trips to Homegoods to get all the perfect accessories. I think the worst is if it feels too empty or too cluttered. So, how to get the styling just right? Well, I hope with my tutorial here it can really help to show you how to get that look and with some practice and the right accessories anyone can do it!
Above is the empty shelves stained and finished. Stop on by the blog to see the tutorial on building these rustic shelves. So...pretty intimidating starting with a blank slate, right? Or if you're a designer it's like the most thrilling thing in the world to get these shelves accessorized...it's like an artist with a blank canvas : )
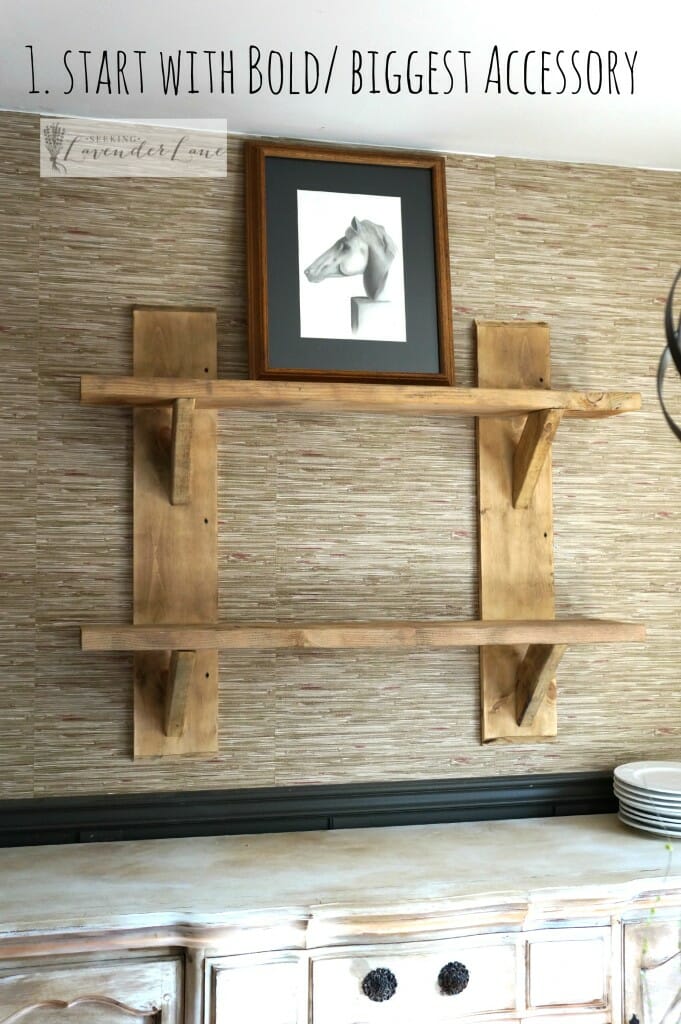
Step 1
So where to begin? Start with your biggest or most bold accessory you're planning to use. This can be a mirror, a plate, a candle, or for me a picture of a horse sketch that I have.See how that just filled up a good amount of space and draws your eye right to it since it's directly in the middle and on the top shelf. It also draws the eye up too since it is so tall, and that's ALWAYS a good thing for any space. Make a room seem taller and bigger with vertical decorating! NOW, WHAT?
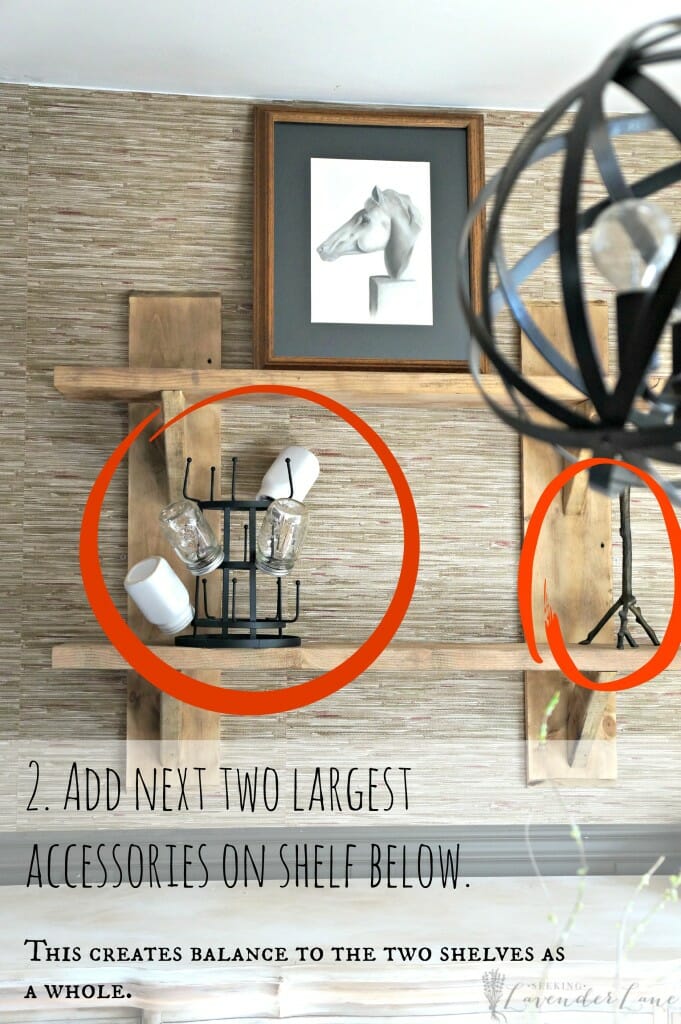
Step 2
Okay, so I wanted to get all the largest accessories on the shelf first. This way you can work around them. See how the top shelf I only have one large accessory and it's in the center? Well, the second shelf should create that balance by offsetting the two largest accessories to the outside of the shelf.Step 3
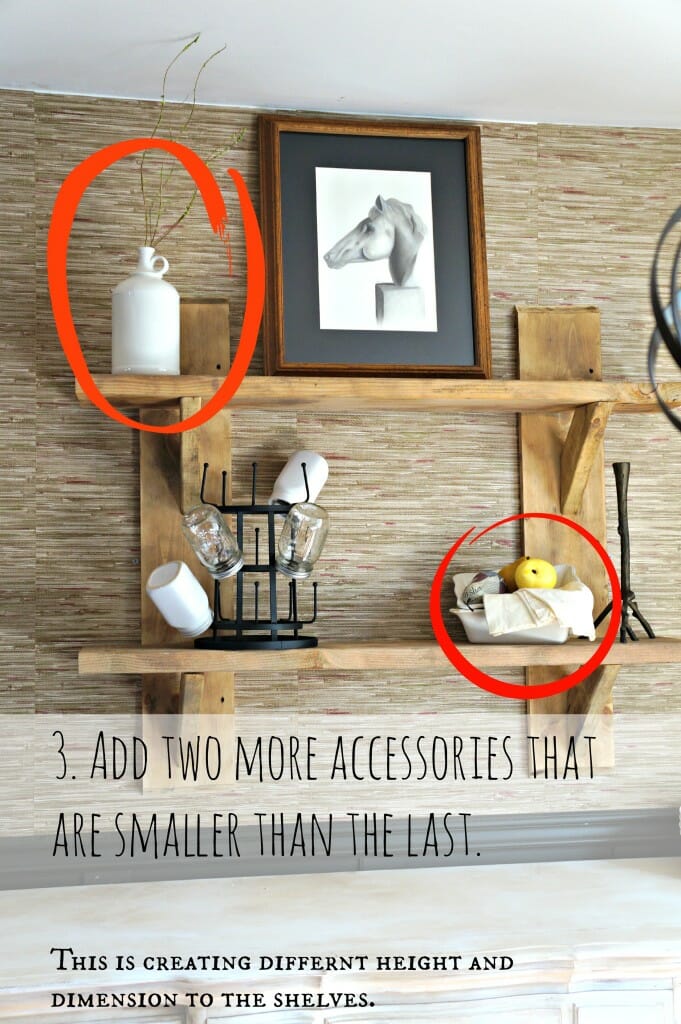
Now depending on your shelf, it could for sure be more than two accessories, but for this shelf two is just enough. These two pieces are still pretty large, but not nearly as tall as the other accessories. See what I'm doing? Working my way from biggest to smallest. Also, take note that I put them diagonally from each other so this continues with the balance that creates a perfectly decorated shelf.Step 4
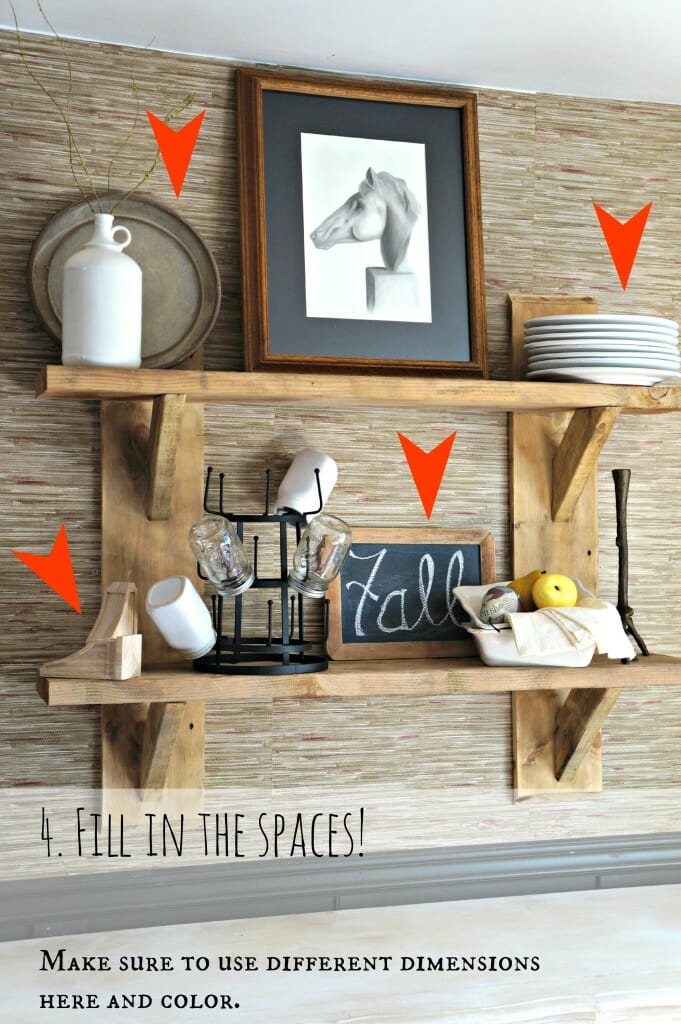
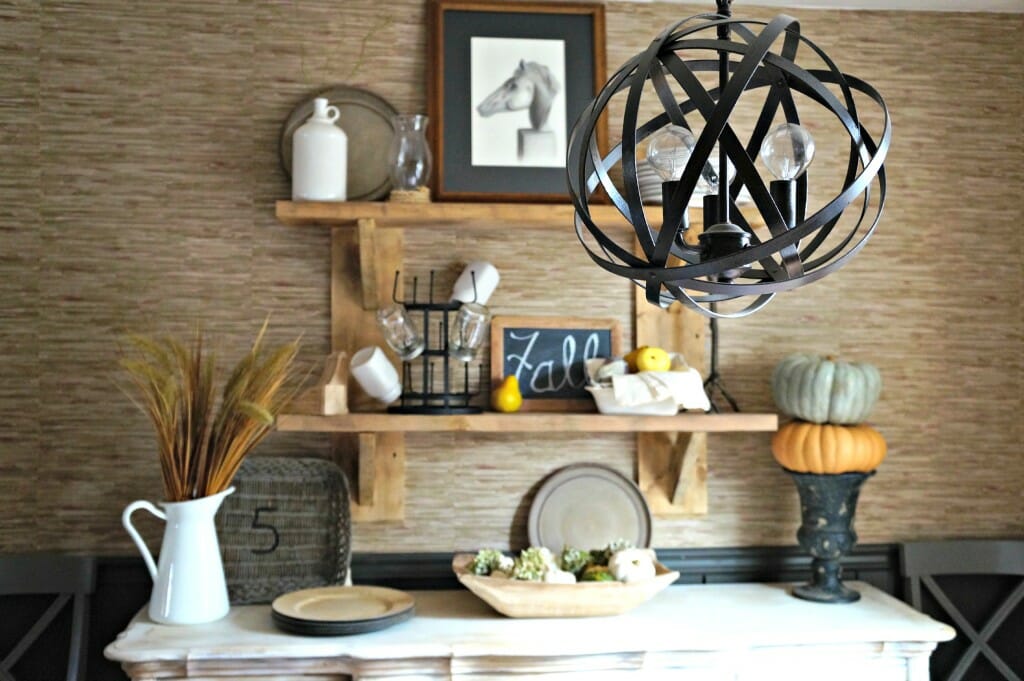
Fill in the spaces! Your shelf now has a good amount of drama to it with the large and taller pieces that you chose. Fill in the spaces with smaller, less dimensional pieces. Here I used a plate on top behind the white jug. That doesn't pop out at you at first, but it covers up the emptiness between the jug and picture.MORE TIPS
Use like colors. See how the colors I chose on the shelf bounce around? using white dishes and white mason jars and then a cream-colored jug and bowls; The black too bounces from one accessory to the next.Add pops of color!
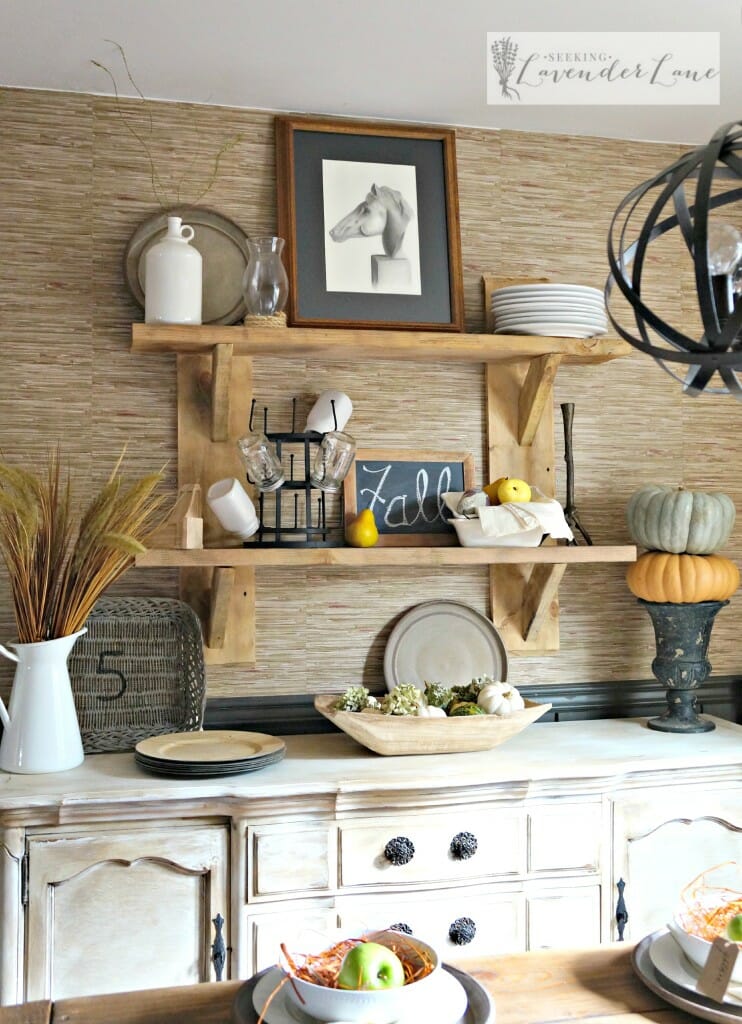
I like to decorate with neutrals, but using the yellow pears here adds more pop to the shelf without being too bold for my love of neutrals. Even white is considered a pop of color...it brightens up the entire shelf and wall.Play around with which direction each accessory should be facing. It may feel right to you, but something could feel slightly off and that just may be due to the direction the piece is facing. Don't be afraid to play around until it is right! Notice the very subtle corbels I added to the bottom left corner? Those took me some time to point them in the right direction, but eventually, I found the direction they should face that felt just perfect.
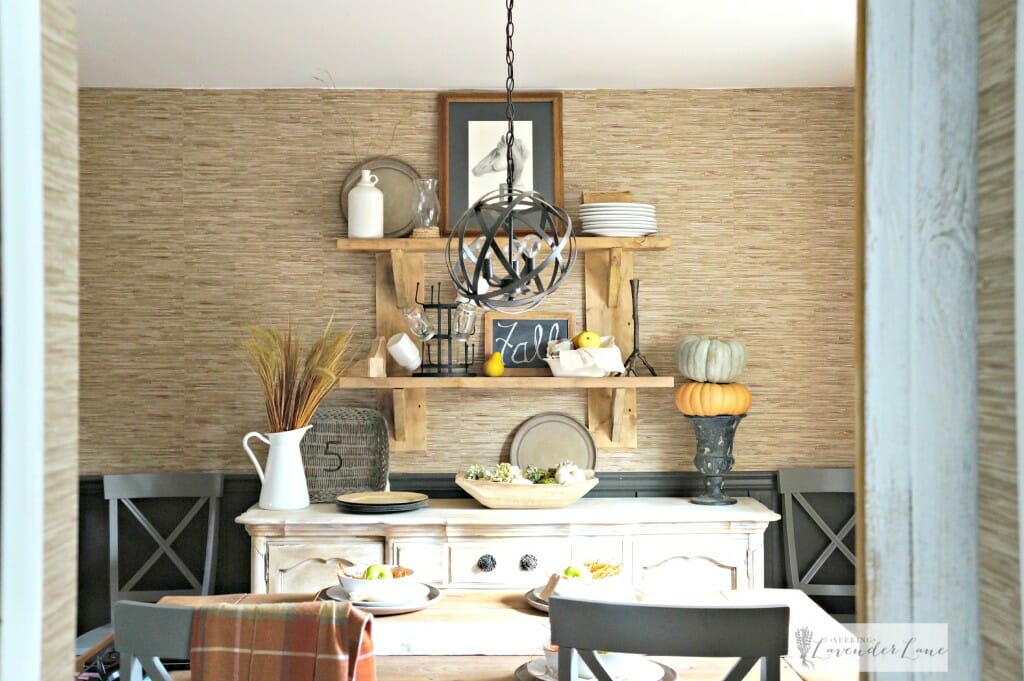
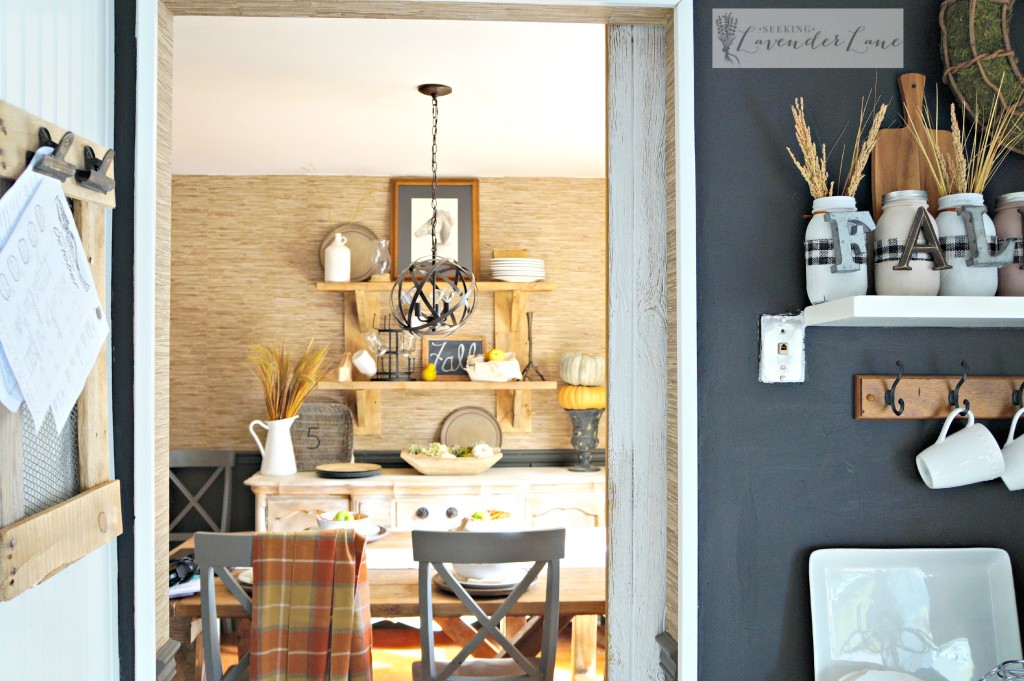
Continue below the shelf or on the side of shelf
To continue with the collection of decor that you filled the shelves. I have yet to add anything to the wall, but below...on the buffet I decided to continue to group accessories with similar colors to continue the overall theme of the wall.Thank you for having me stop by your page, Marie! I hope to have you all come and follow me along on this journey of designing and blogging.
Happy Decorating!
Wow, don't you just love Deb's dining room wall! I love the buffet, the wood wall, the rustic shelves, and how she styled it all. I hope you found her styling tips helpful and it inspired you to tweak your own bookcases and shelves!
I urge you to head over to Seeking Lavender Lane to give Deb a warm hello and check out her fabulous DIYs. She has some serious decorating talent!
Thank you so much, Deb, for sharing your helpful styling tips with my readers. I appreciate your help during my recovery!

Comments
Post a Comment
Don't be shy, I love reading your comments and reply to every single one! If you want to be notified when I reply back to you, click the "Notify Me" button below the comment box.