DIY Cake Stand With Parisian Flair From Repurposed Finds
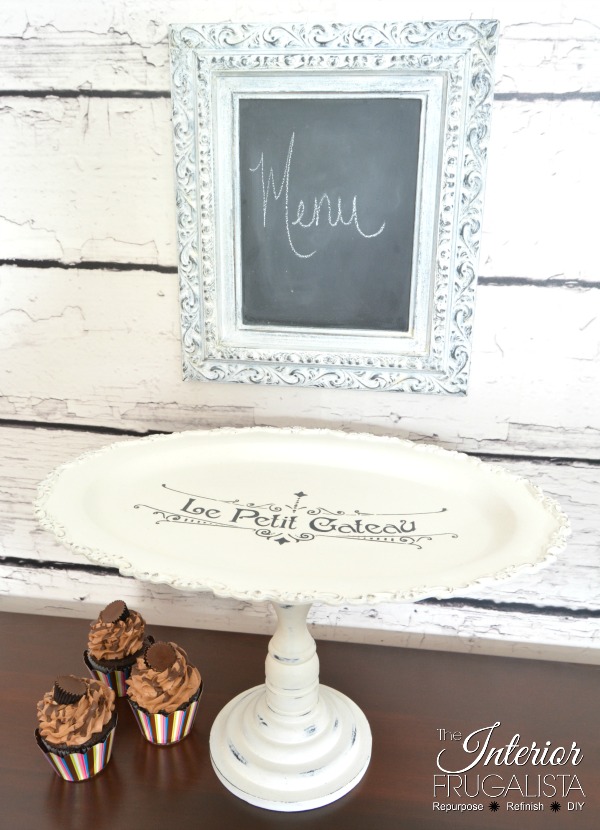
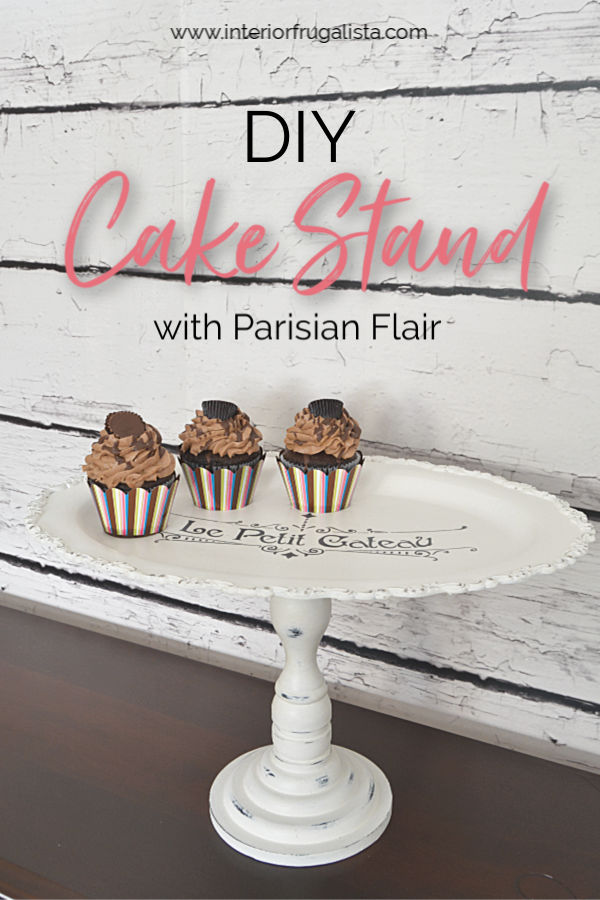
Do you like incorporating pretty cake stands on your tablescapes when entertaining? I'm always on the hunt for unique ones with ornate details but they can be pricey. Today I'm sharing an affordable option by making your own one-of-a-kind DIY cake stand with Parisian flair using repurposed finds from the thrift store!
I made this one with a pretty scalloped silver platter and wooden candlestick that I found at Goodwill. They are so easy to make and I'll show you how. Also, I'm sharing a great tip for testing silver when thrift store or garage sale shopping plus how to paint silver for a lasting finish.
Repurposed Parisian Cake Stand
Typically I'm not drawn to silver platters when I see them at the thrift store. But when I saw the lovely scalloped edge of this oval silver platter, it had to come home with me.
But never do I pass on wooden (or glass) candlesticks. Besides upcycling them for their intended purpose, they make wonderful pedestal bases for things like these DIY indoor birdhouse decor and DIY vintage china cake stands.
How To Test Silver When Thrift Store Or Garage Sale Shopping
Here's a handy tip for testing whether a piece is a sterling or silver plate when you are shopping at thrift stores or garage sales. Carry a small magnet in your purse. Sterling silver is not magnetic so if the magnet sticks, it is silver-plated.
What You'll Need To Make It
Normally this is where I would share a before photo of the materials used for this project. But I made this DIY Parisian cake stand in haste to sell at an upcoming market. At the time I hadn't planned on sharing a tutorial and didn't bother taking before photos of the silver platter and candlestick.
I'm happy to report that this cake stand and my two DIY silver pedestal cake stands sold very quickly. I had so many wonderful local blog readers come to meet me in person at my booth. Some asked if I'd be sharing the instructions for how to make them on the blog soon and so sweet ladies, this tutorial is for you!
This post contains affiliate links so you can see what products I used or recommend for this project. As an Amazon Associate, I earn a small commission from any qualifying purchases at no extra cost to you. Thank you for your support!
Supply List
Silver-Plate Platter (thrift store)
Wooden Candlestick (thrift store)
Rustoleum Primer White Spray Paint
Vintage White Chalk Style Paint
Dark Gray Acrylic Craft Paint
French Stencil
Round Stencil Brush
Clear Top Coat or Clear Durable Top Coat Spray Paint
E6000 Glue
220-Grit Sandpaper
How To Paint Silver
I never paint sterling silver unless it is in terrible condition where polishing will not restore its beauty. I hesitate on silver-plated pieces too unless they are rather plain-looking or have seen their better days.
Painting silver with a brush is very finicky for two reasons:
- The paint takes longer to dry between coats.
- You can't brush over the same area twice or the paint will bubble and peel and you'll have a hot mess on your hands.
An easy way around that is to spray the silver with primer white spray paint as a base coat. Once dry, it gives a smooth finish for matte chalk-style paint without any risk of peeling paint.
You could upcycle the silver with spray paint alone, but you don't get that lovely matte finish that chalk-style paint provides. So my preference is that once the primer is dry, brush two thin coats of warm vintage white chalk-style paint like I did.
This next step is optional. Once the last coat of paint is dry, make those lovely scalloped details pop by distressing around the edges with 220-grit sandpaper so some of the original silver peeks through like pictured below.
Parisian Cake Stand With Stenciled French Typography
This is another step that is completely optional. I added Parisian typography to the top of the cake stand with a French stencil (see supply list) and dark gray acrylic craft paint.
Stencil Tip
The key to a crisp stencil without paint bleed is having very little paint on the brush. After dipping a round stencil brush into the paint, dab the brush onto a paper towel to remove the excess paint.
Repurposed Wooden Candlestick Cake Stand Base
Paint the wooden candlestick with two coats of the same vintage white chalk-style paint as the platter. Unlike the silver platter, there is no need to prime the candlestick first. Once the paint is dry you can distress it with 220-grit sandpaper if you like.
Set the painted silver platter upside down on a towel. Run a bead of E6000 glue along the top edge of the painted wooden candlestick. Attach the candlestick centered on the bottom of the painted platter. Press firmly for a tight bond and remove any glue seepage with a cotton swab.
It's important for maximum bond strength that you let the glue cure for at least 72 hours before using the cake stand.
How To Protect Parisian Cake Stand
Protect the cake stand with at least two coats of a non-yellowing water-based clear top coat. You can brush or spray it on (see supply list).
Is the painted cake stand food safe?
While the DIY Parisian cake stand is protected with a water-resistant top coat, I would still recommend using a paper doily, cloth napkin, or cupcake/cake liners on the tray.
How do you wash a painted cake stand?
The painted cake stand is not dishwasher safe nor do I advise immersing it in dishwater. Instead, wipe it with a dishcloth.
While writing this post I am enjoying a cup of strong coffee and one of those delicious chocolate cupcakes pictured on the repurposed Parisian cake stand. Speaking of cupcakes here's another DIY rustic 4-tiered cake stand idea for a wedding or large gathering.
Thanks for stopping by the Interior Frugalista today! I hope you found the tips for testing and painting silver helpful and that you were inspired to make your own unique cake stand with repurposed thrift store finds.
Almost all of our DIY ideas have step-by-step tutorials so why not get your budget DIY on and subscribe. You can also find us on Pinterest, Facebook, Instagram, and YouTube.
If you have any questions, please leave them in the comment section below or the Contact Me tab at the top to drop me an email. I love hearing from you!
If you enjoyed this repurposed DIY cake stand with Parisian flair, I'd be so thankful if you shared it with a friend and pinned it to your favorite board on Pinterest.
I share my projects at these inspiring link parties.


Thank You for these great tips.
ReplyDeleteYou are most welcome 😊, have fun making cake stands!
Delete